Extension: Newsletter Page Builder
-
Extension Name: ext.magento2.cleverzoeger.newsletter-page-builder (CleverZoeger_NewsletterPageBuilder)
-
Shop Link: https://shop.clever-zoeger.de/newsletter-page-builder-m2.html
-
Demo Link: https://demos.clever-zoeger.de/newsletterpagebuilder_de
-
Magento Compatibility: 2.4.x
-
PHP Compatibility: 8.1, 8.2, 8.3, 8.4

This Magento extension allows you to create from the magento backend like adobe magento page builder content for CleverReach and Mailchimp.
Implementation
To set up Newsletter Page Builder, please go to System > Configuration > CLEVER+ZÖGER GMBH > Newsletter Page Builder
Backend: General Settings
Path: Stores → Configuration → CLEVER+ZOEGER GMBH → Newsletter Page Builder → General
| Setting | Description |
|---|---|
Enable |
Switches the module on and off. |
Newsletter Route |
The path under which the online versions of the newsletters are available in the
storefront. With |
Backend: Newsletter Page Builder Pages
-
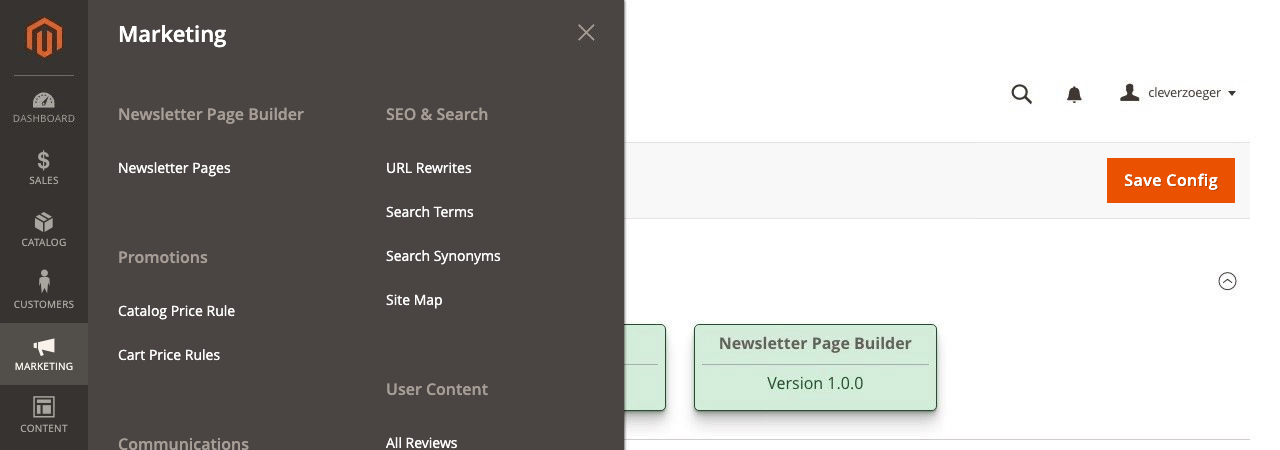
The submenu "Newsletter Page Builder" redirects you to the overview of all newsletter pages.
Backend: Newsletter Section
Newsletter Pages Listing
-
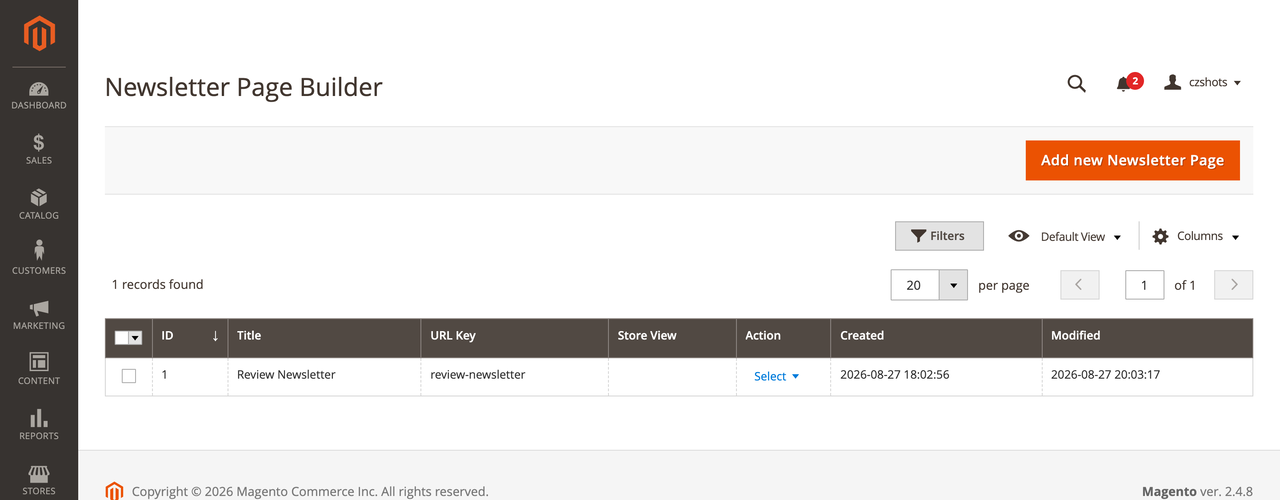
The grid lists all newsletter pages with ID, title, URL key, store view and the dates of creation and last change. Add new Newsletter Page creates a new page, Select opens the actions of a row (edit, export, delete).
Newsletter Pages Overview
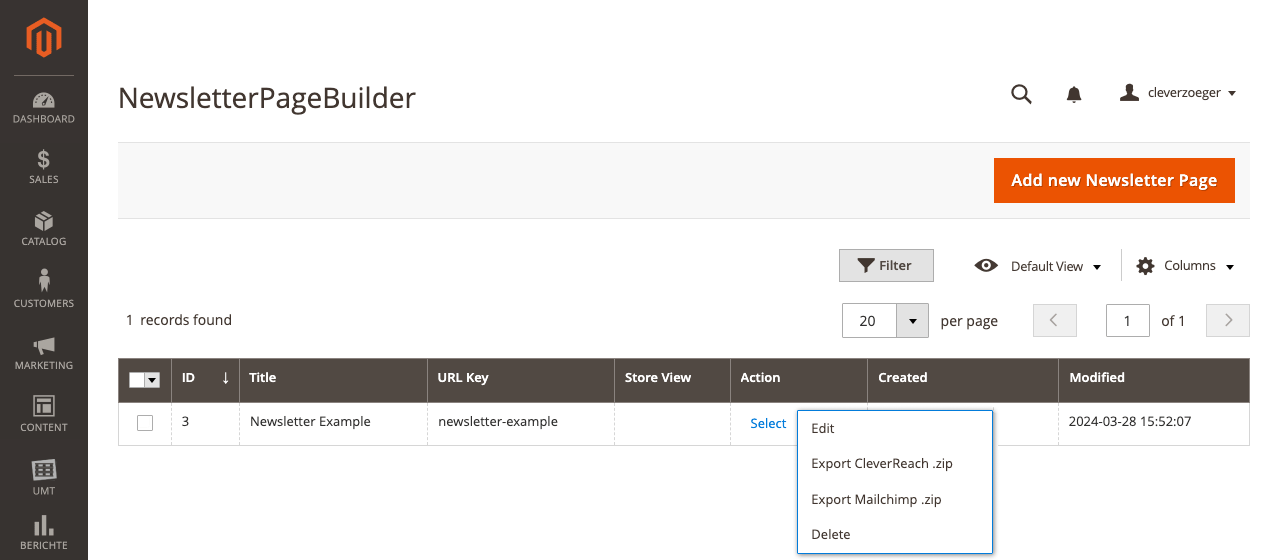
overview of all newsletter pages.
-
Edit Modify Newsletter Page Content via Newsletter Page Builder
-
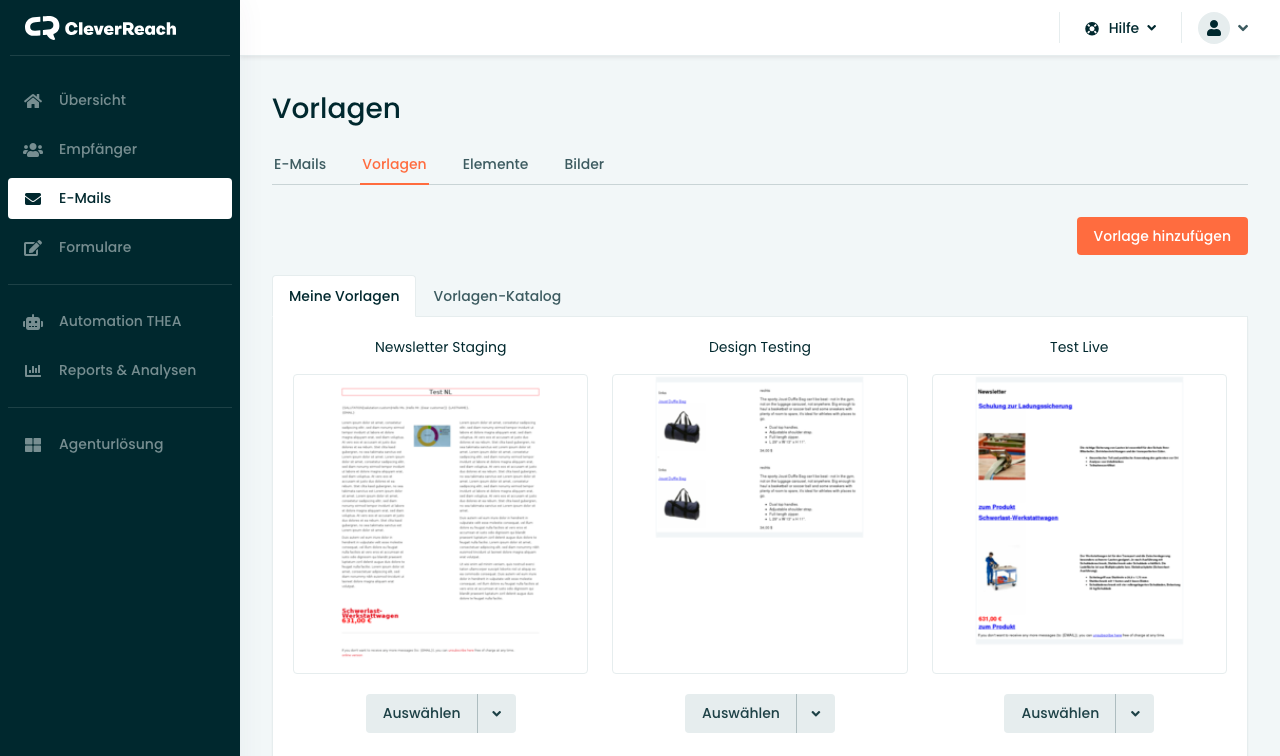
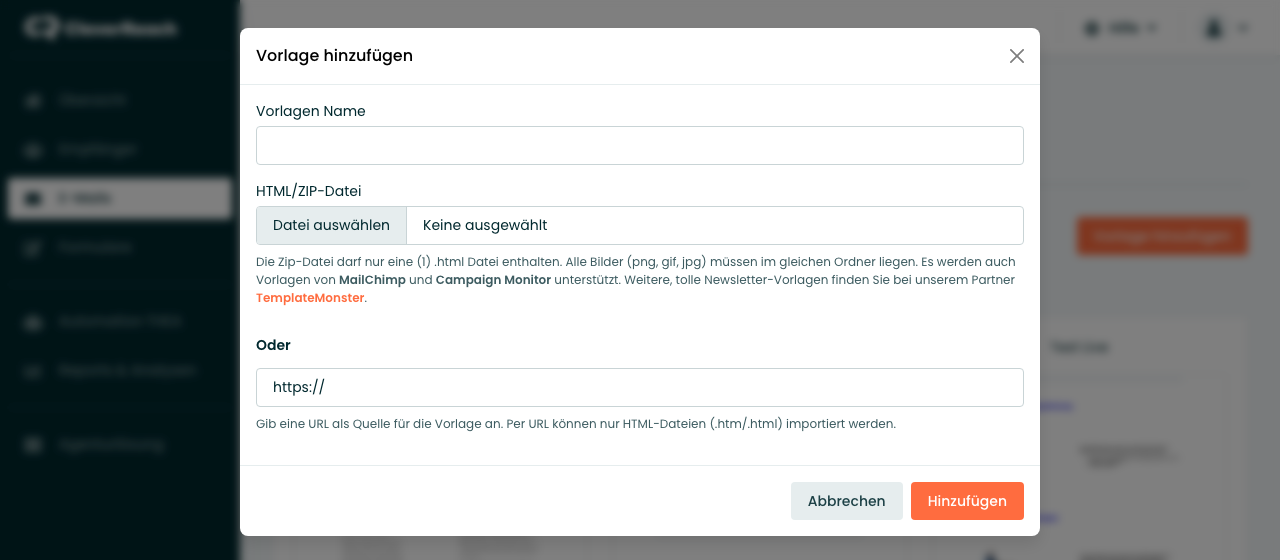
Export CleverReach.zip exports an archive file to import it into CleverReach directly as a template.
-
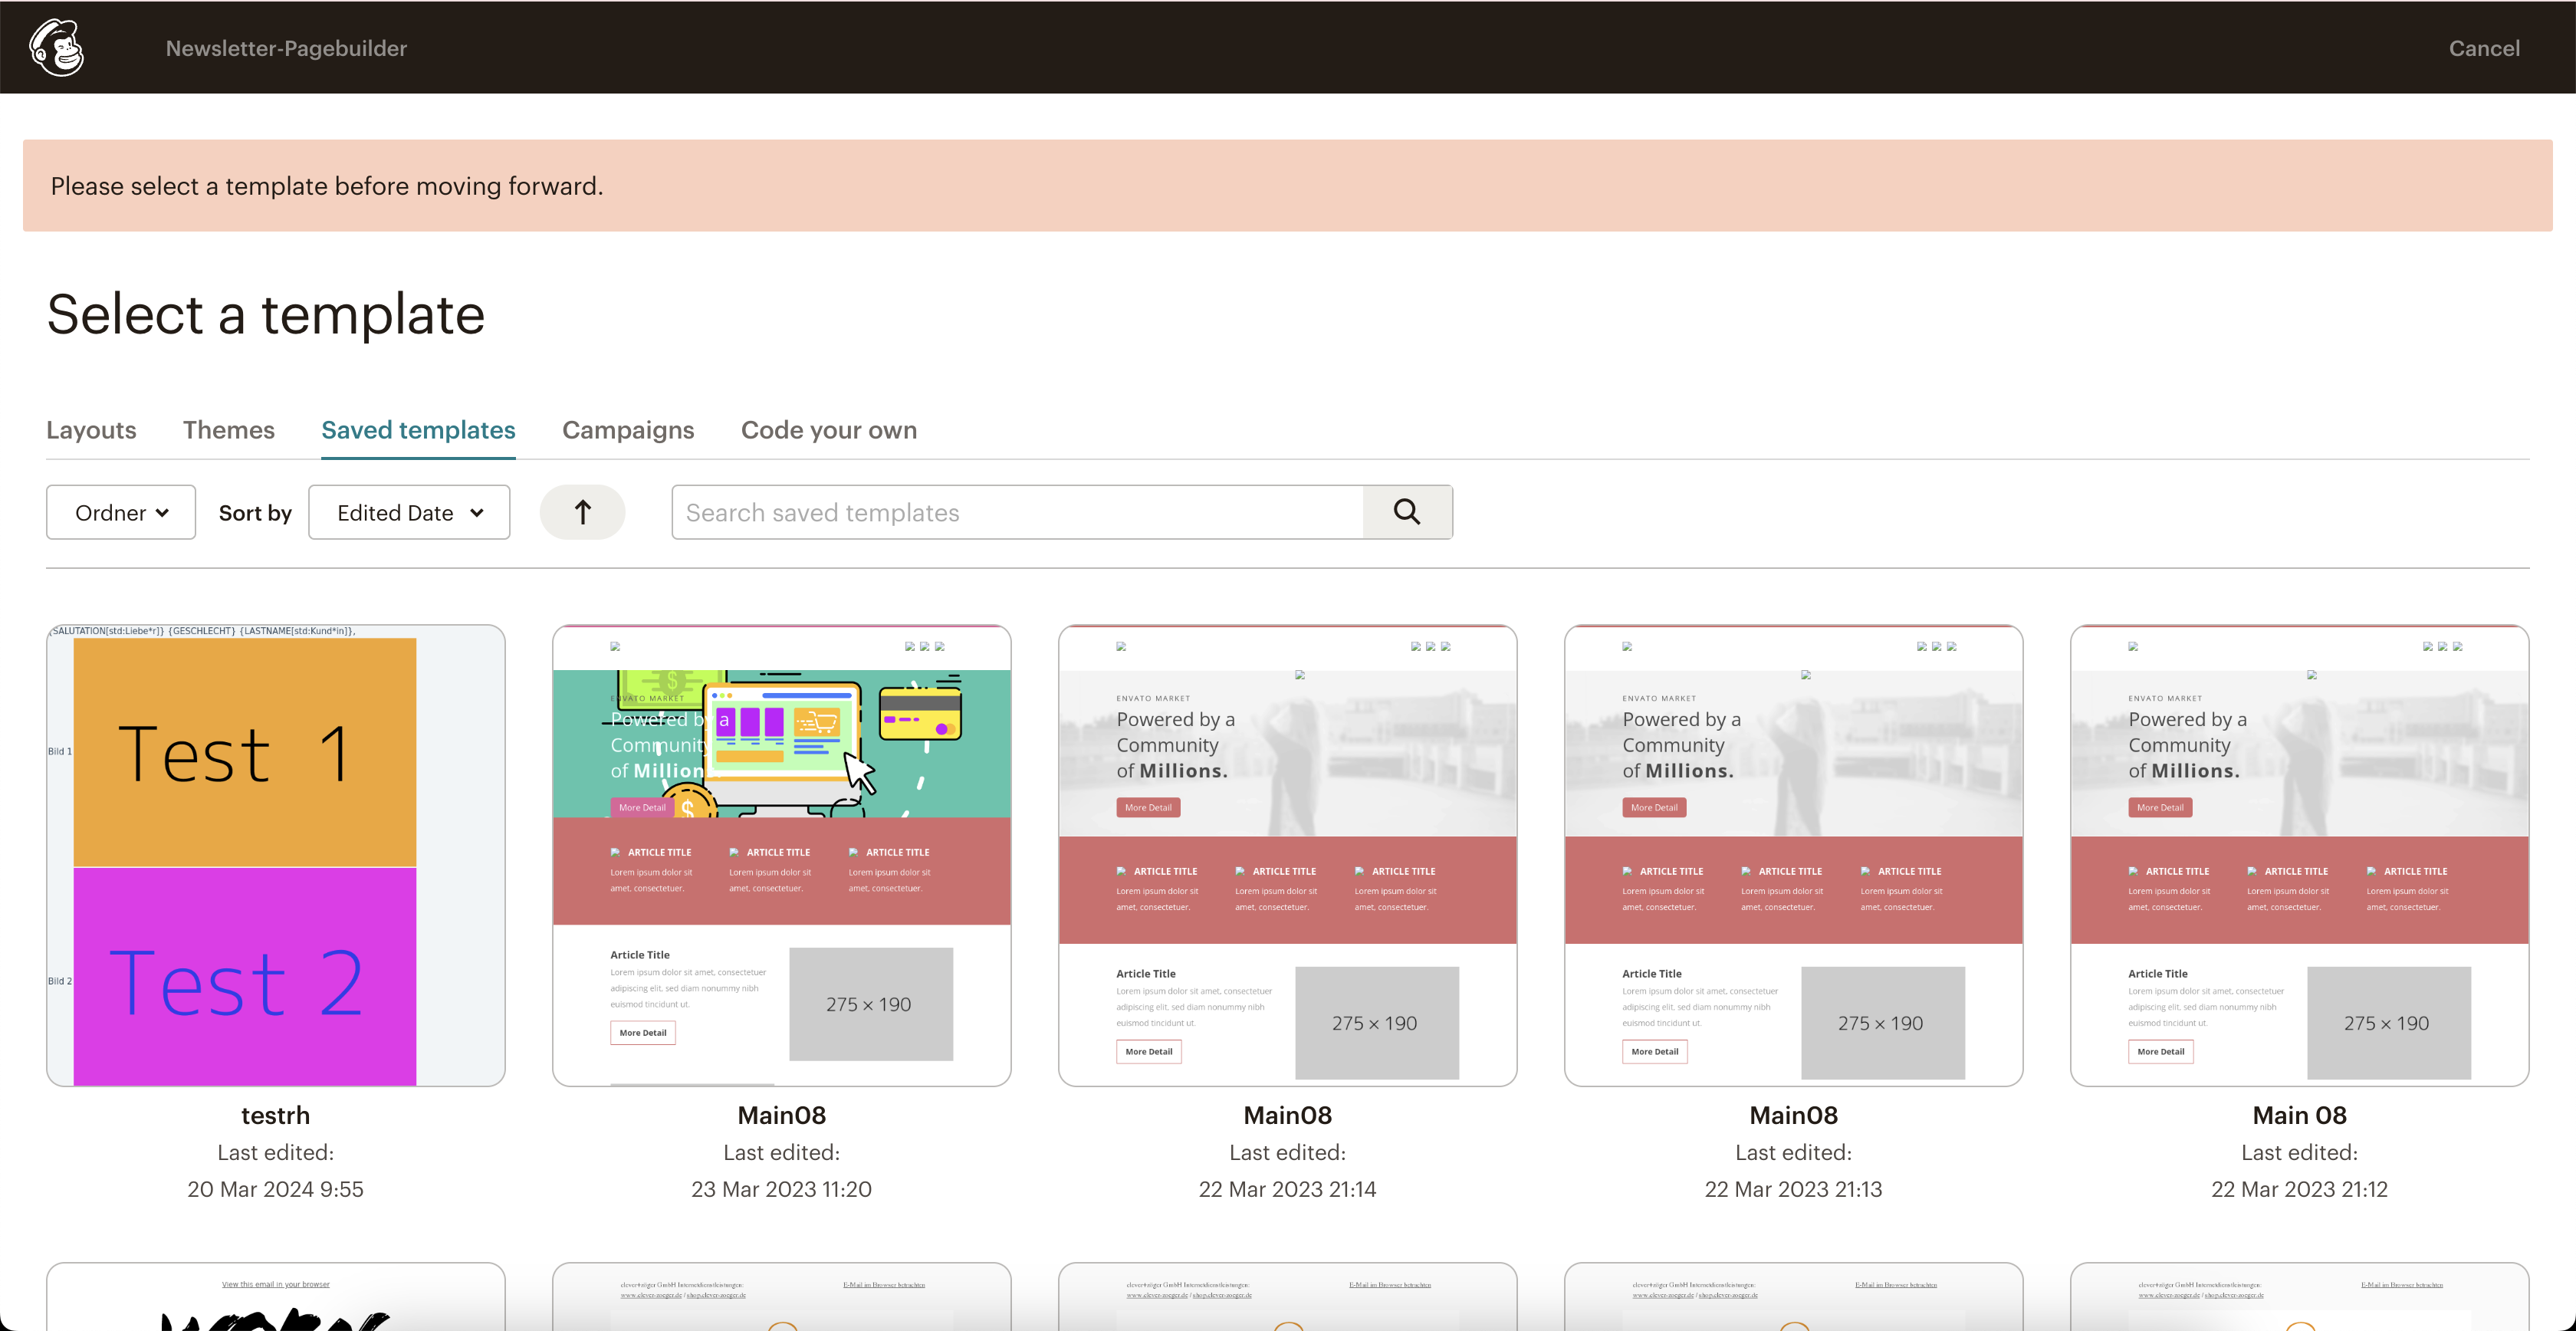
Export Mailchimp.zip exports an archive file to import it into Mailchimp directly as a template.
-
Delete Delete this Newsletter Page
Create or Edit Newsletter Page
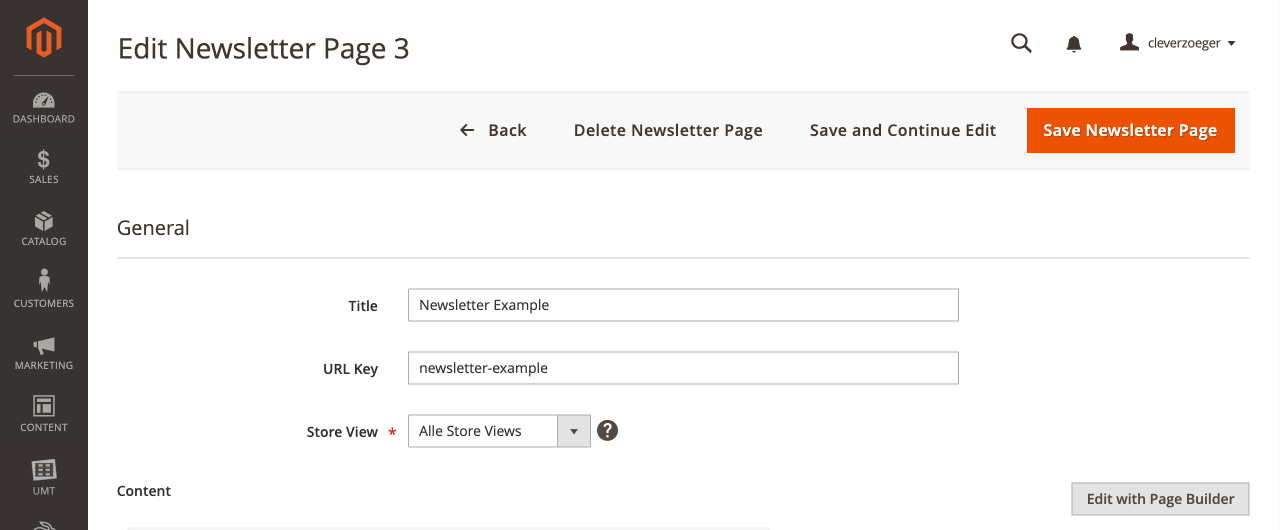
General Settings of your Newsletter Page
-
Titel Newsletter Page Title
-
URL-Key under that url will be your preview / online-version visible
-
Store View Assign Newsletter to a Store View to get product information of that store view
-
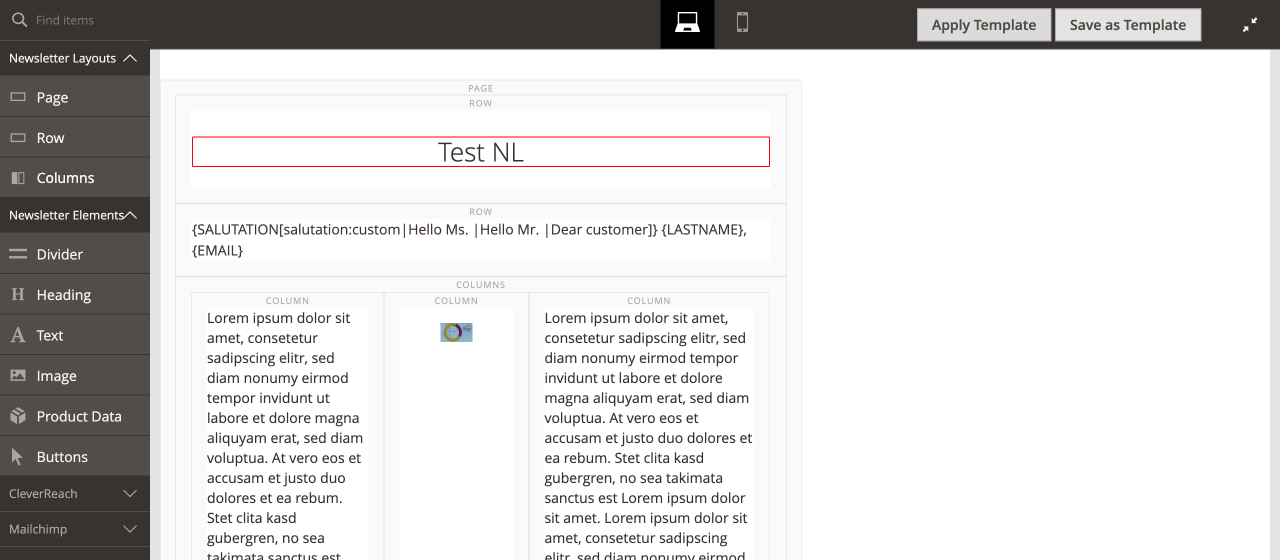
If you press “Edit Newsletter Page Builder” Content button this page appears
-
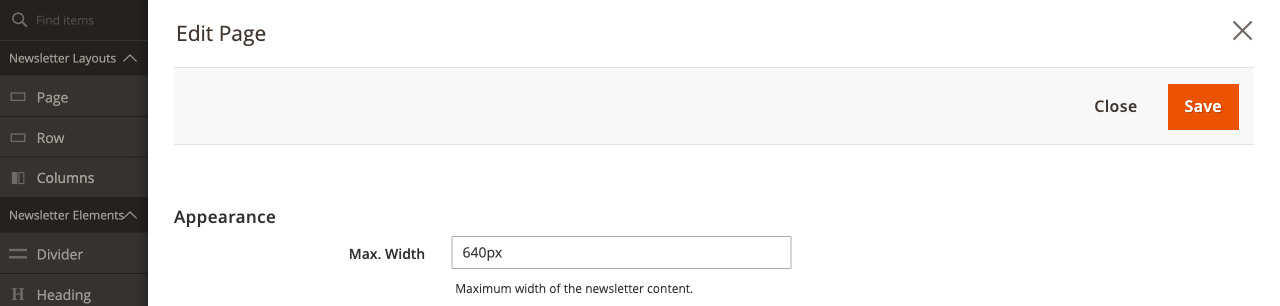
Max. With at the Page configuration page you can set the newsletter page width
-
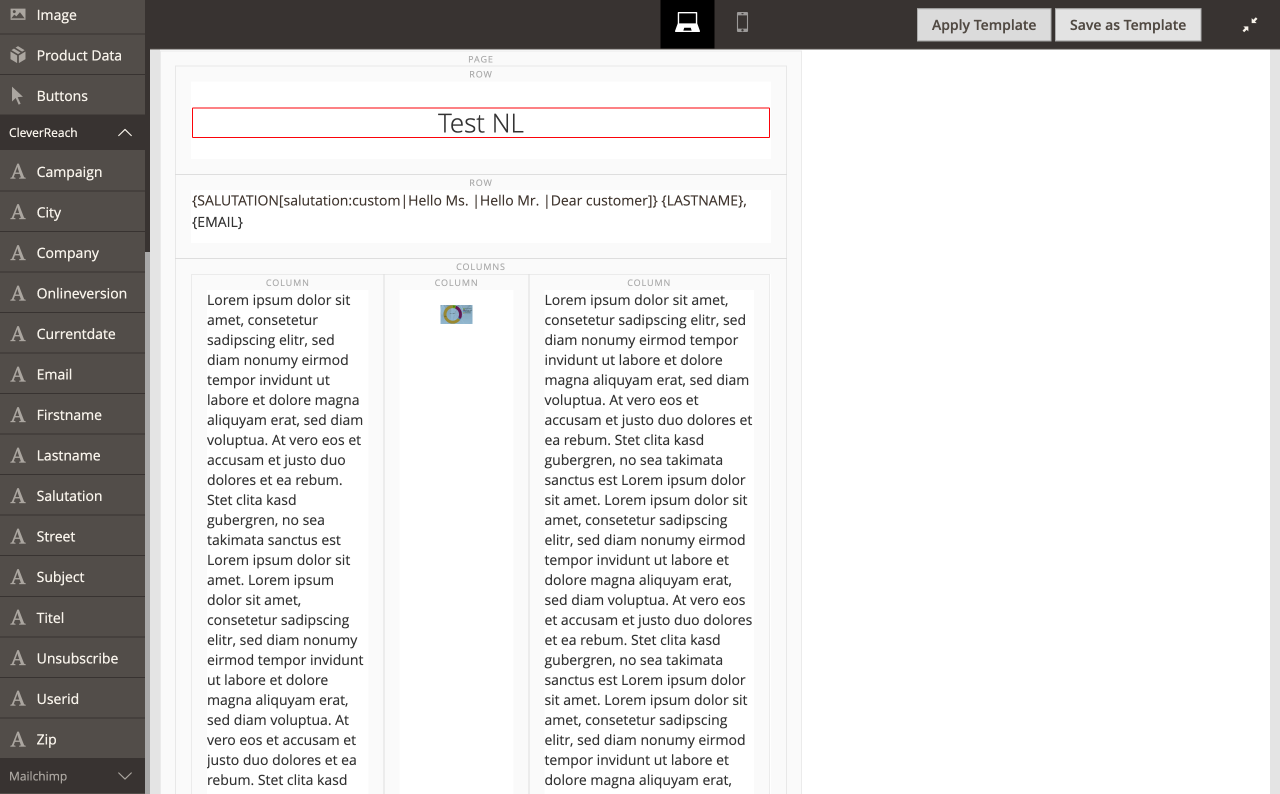
CleverReach Variables as Page Builder Elements
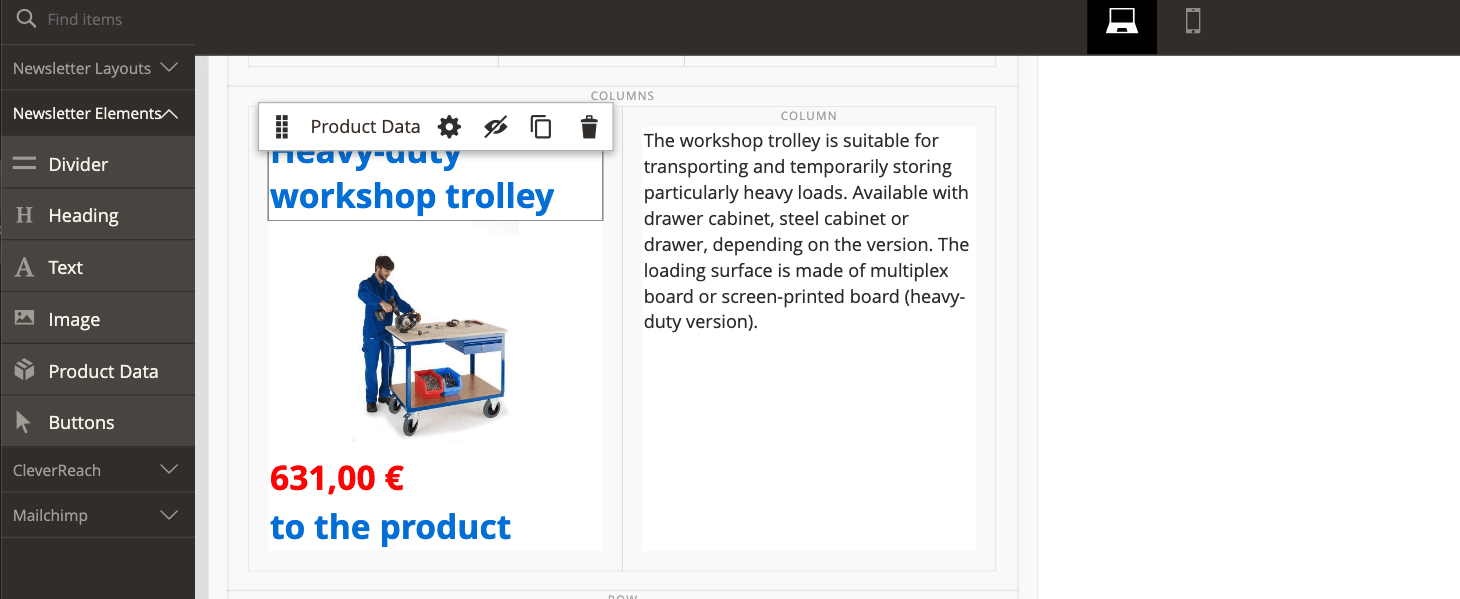
Insert Product Information
-
Product Example
-
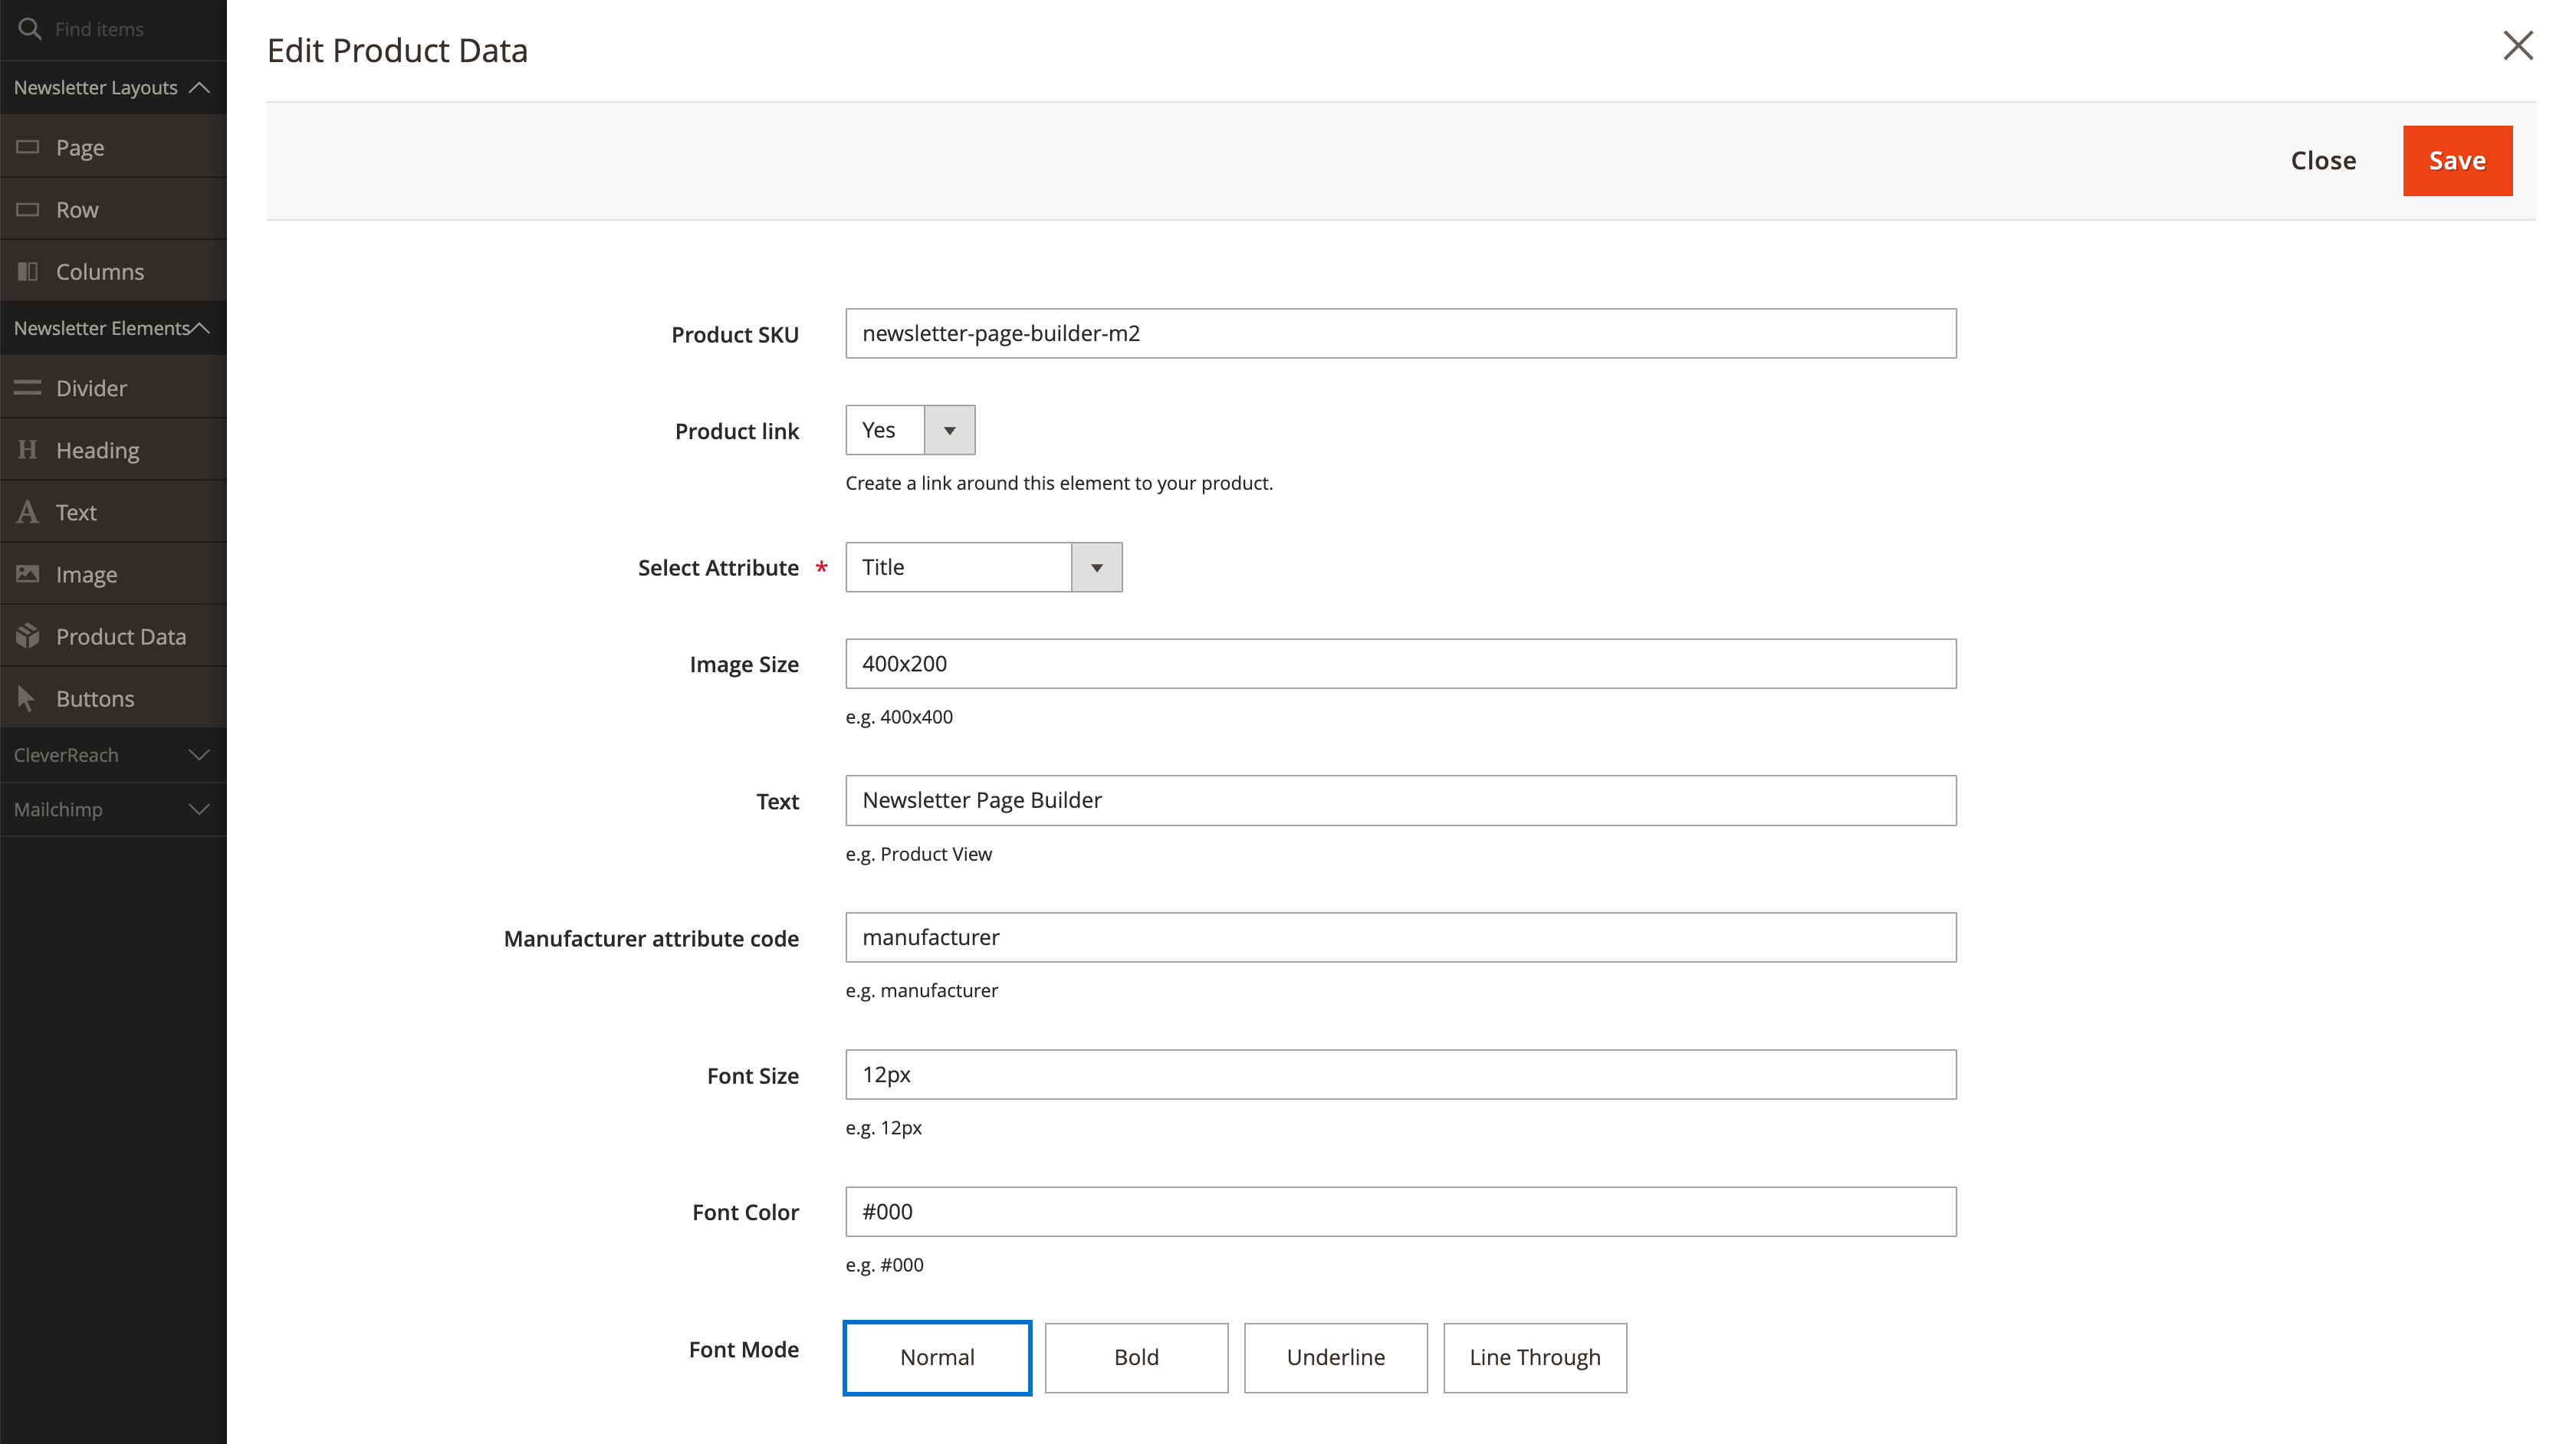
Produkt SKU must contain SKU of the required product
-
Product link sets a link around your element to the product or not
-
Select Attribute defines the type of information you like to display
-
Title: Returns the product title (requires Product SKU, Font Size, Font Color, and Font Mode attributes).
-
Description: Returns the product description (requires Product SKU, Font Size, Font Color, and Font Mode attributes).
-
Short Description: Returns the short description of the product (requires Product SKU, Font Size, Font Color and Font Mode attributes).
-
Image: Returns the product image (requires Product SKU, Image Size attributes)
-
Price: Returns the product price (requires Product SKU, Font Size, Font Color and Font Mode attributes)
-
Special Price: Returns the special price of the product (requires Product SKU, Font Size, Font Color and Font Mode attributes).
-
Custom Text: Returns a custom text (requires Product SKU, Font Size, Font Color, Font Mode and Text attributes)
-
Variant Description: Uses the variant_description attribute (requires Product SKU attribute)
-
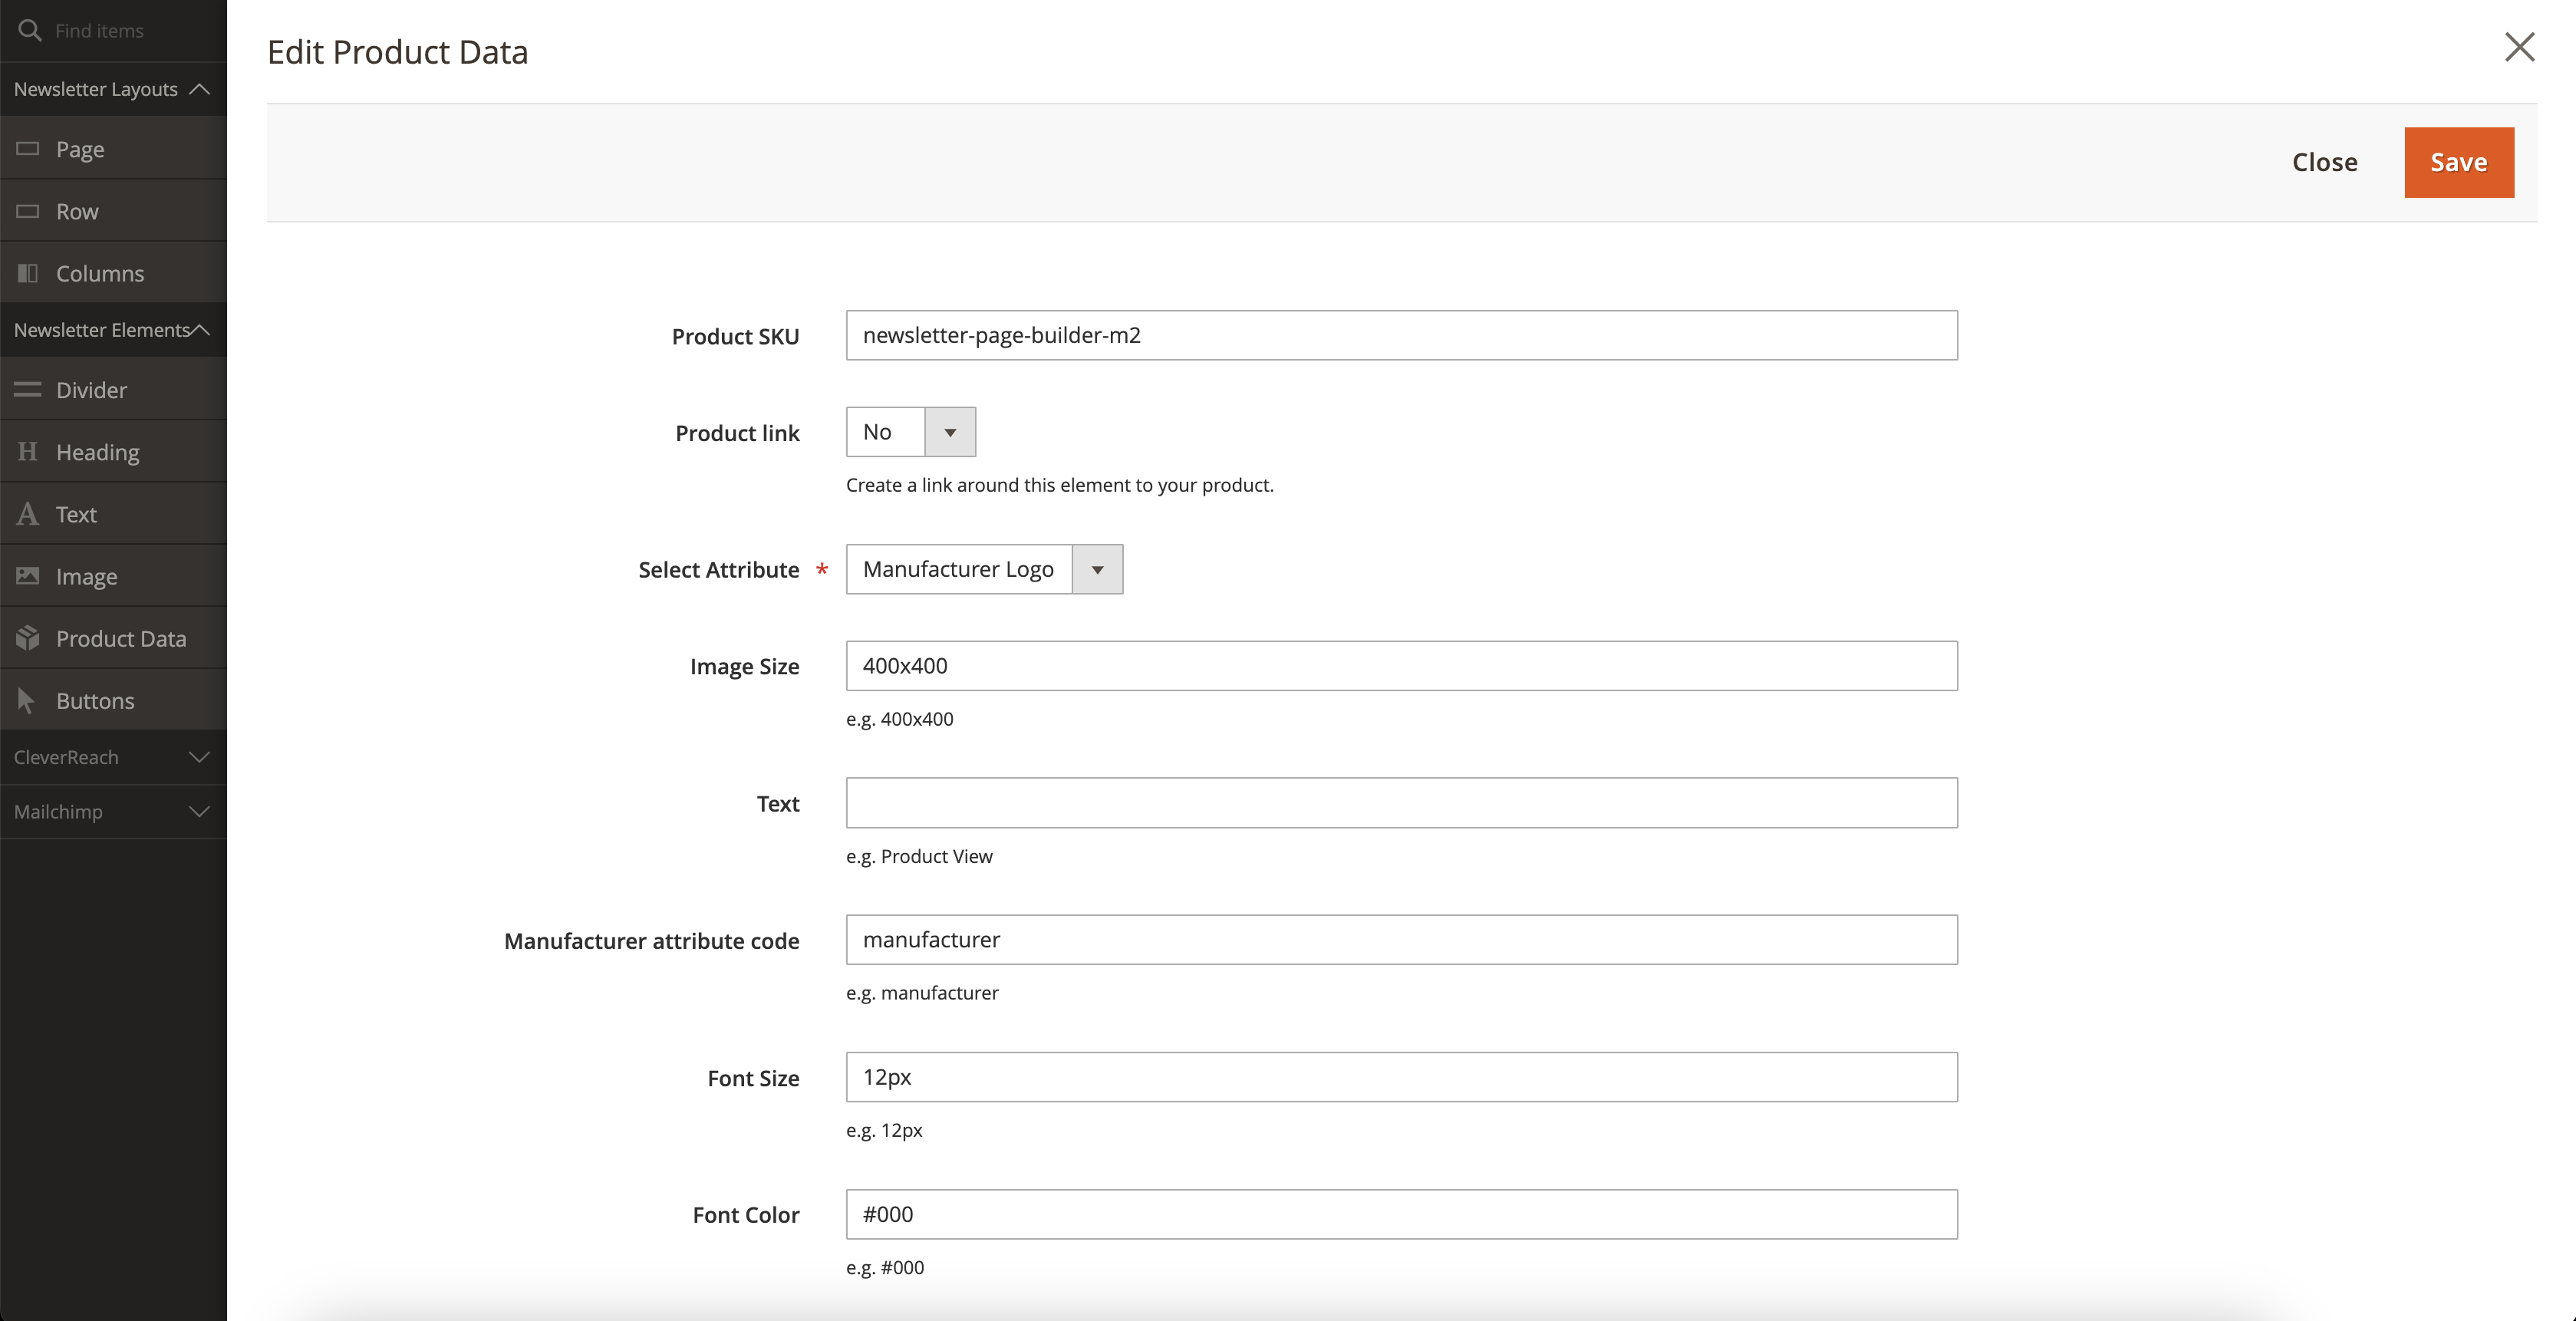
Manufacturer Logo: Returns the manufacturer logo (requires Product SKU, Image Size, and Manufacturer Code attributes)
-
-
Image Size to set custom defined images size <WIDTH>x<HEIGHT>
-
400x200: width is 400 and height is 200
-
x400: height is 400 and width is scaled automatically
-
400: width and height are both 400
-
-
Text insert custom text
-
Manufacturer attribute code is the attribute in which the logo is stored (default: manufacturer)
-
Space characters become minus
-
-
Font Size to define a custom font size
-
Font Color to define a custom font color
-
Font Mode set the font normal, bold, underline or line through
-
Example of the Product Data element with Select Attribute =
Manufacturer Logo: the product SKU, the image size (e.g.400x400) and the attribute code that holds the brand (defaultmanufacturer) are entered here.
-
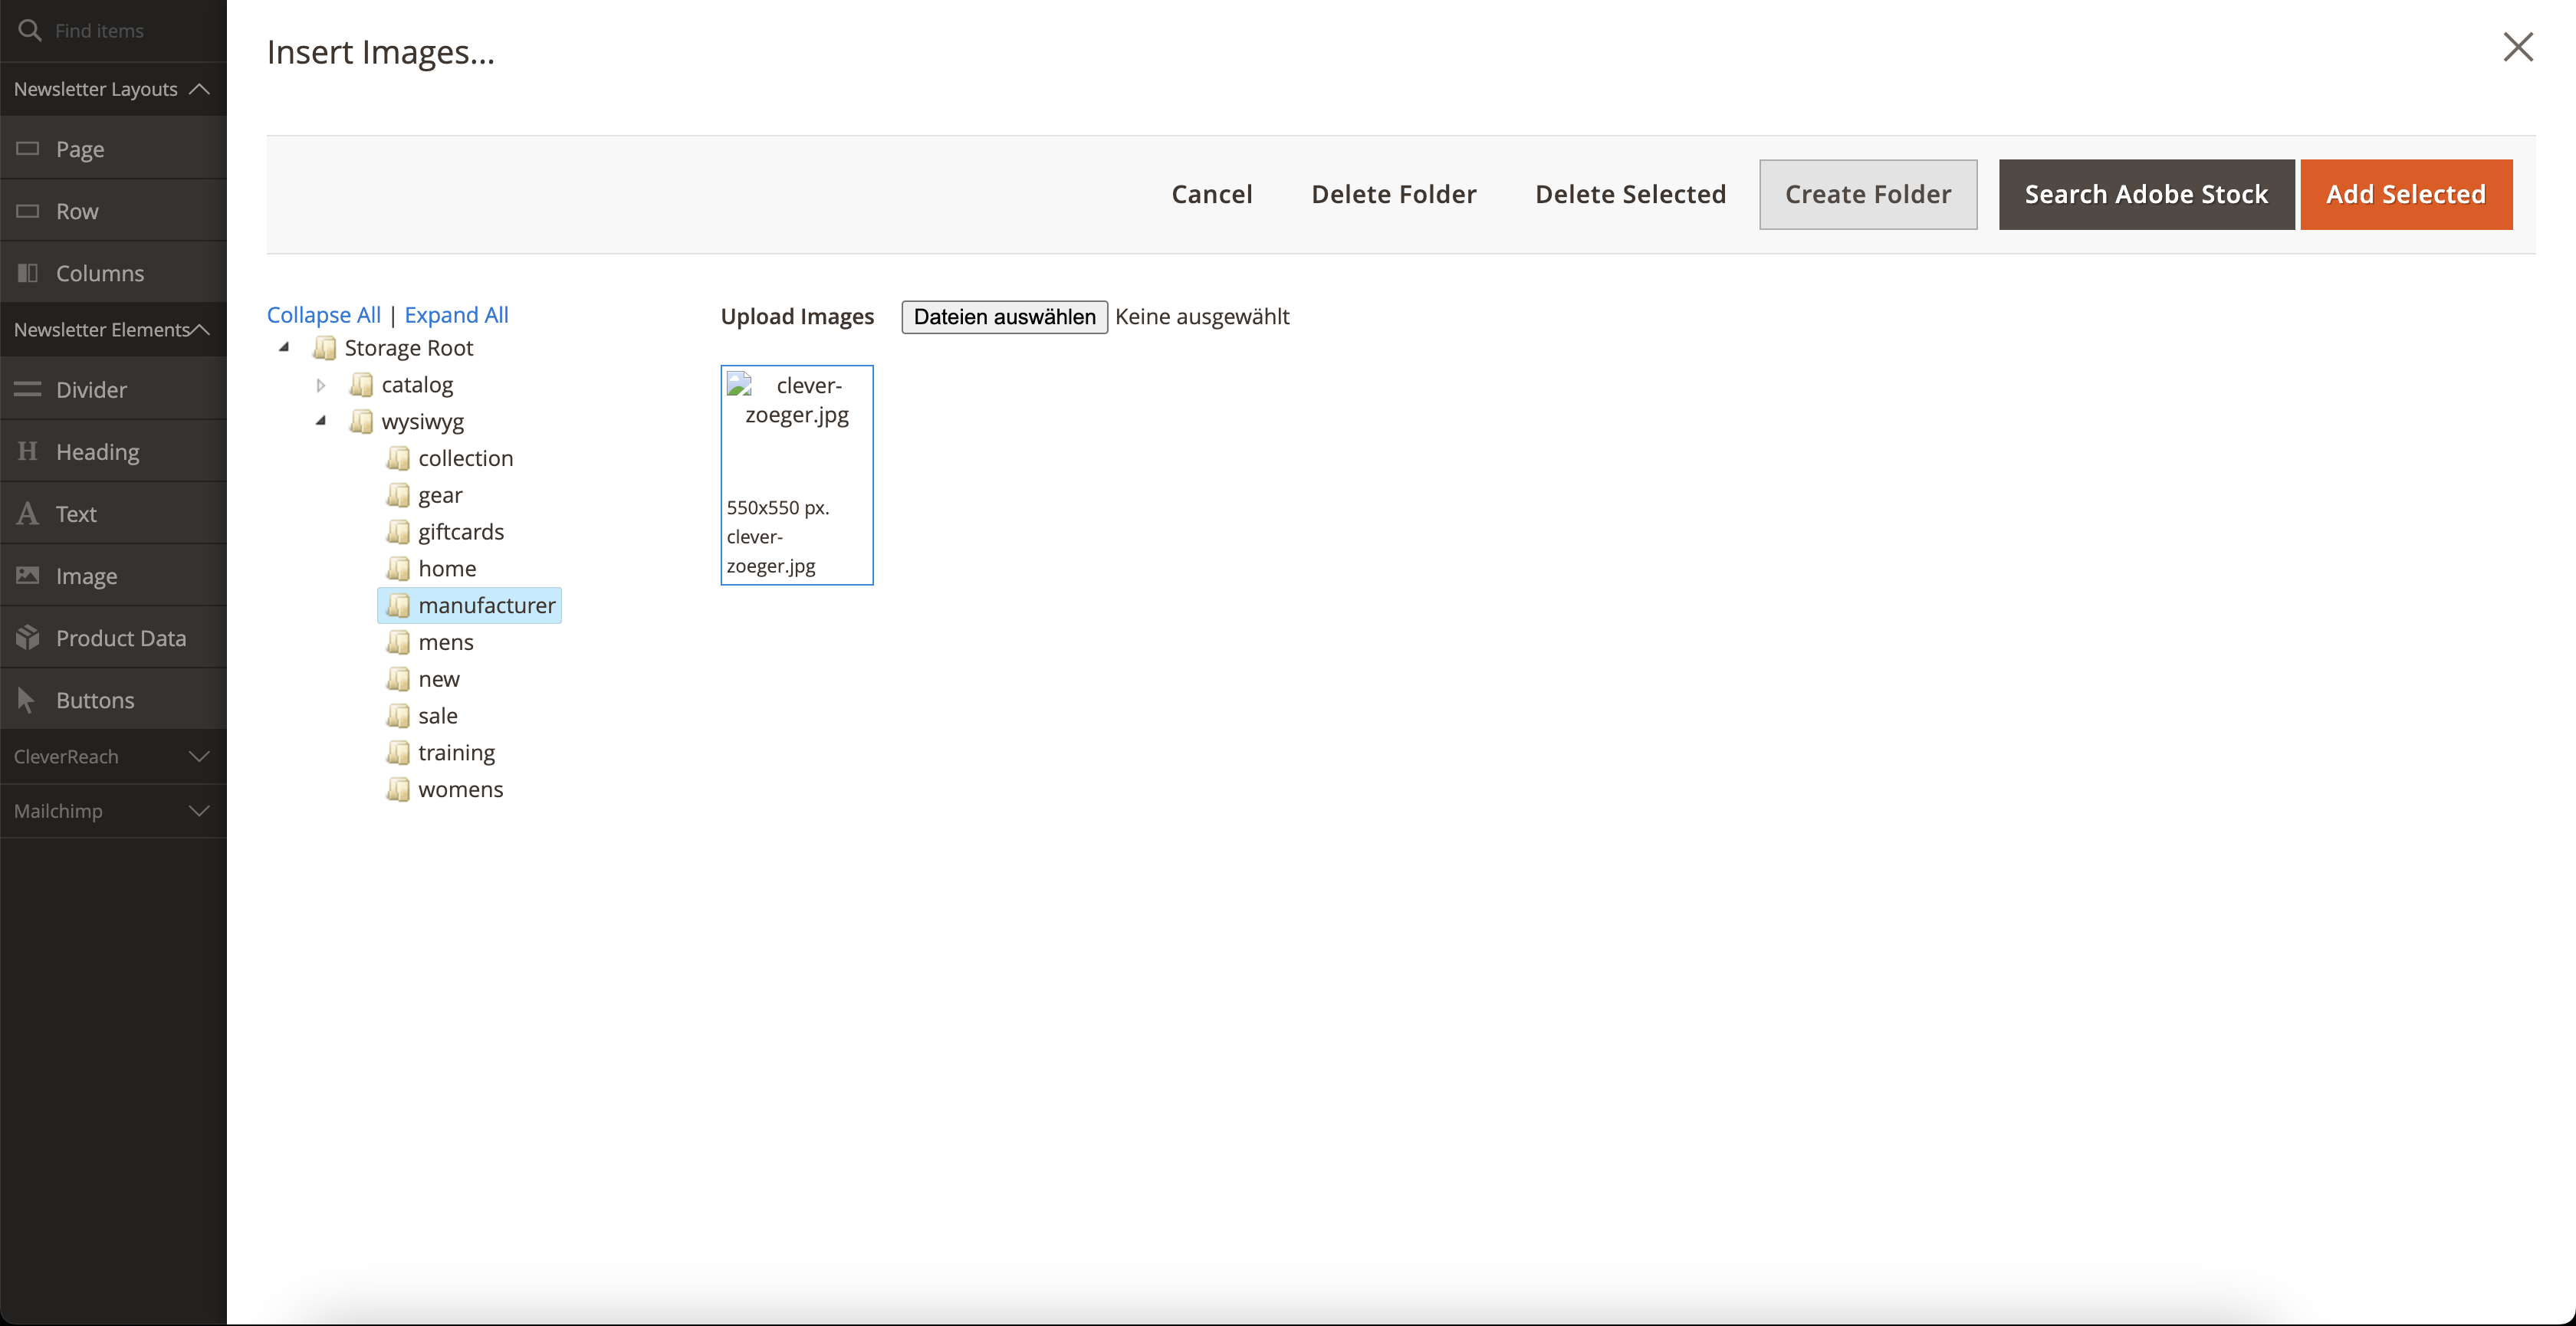
Upload Manufacturer Logo
-
logo must be in wysiwyg > manufacturer (not in subfolder in manufacturer)
-
can be uploaded via ftp in media > wysiwyg > manufacturer
-
name of the file needs to be the name of the brand in the shop
-
Cookie consent for newsletter tracking
Newsletters usually carry a tracking pixel or a personalisation cookie (in the example below
_trbo_ud). If the shop uses CleverZoeger_GDPR, that cookie has to be registered there so
it appears in the cookie banner and is blocked until the visitor agrees. Three steps:
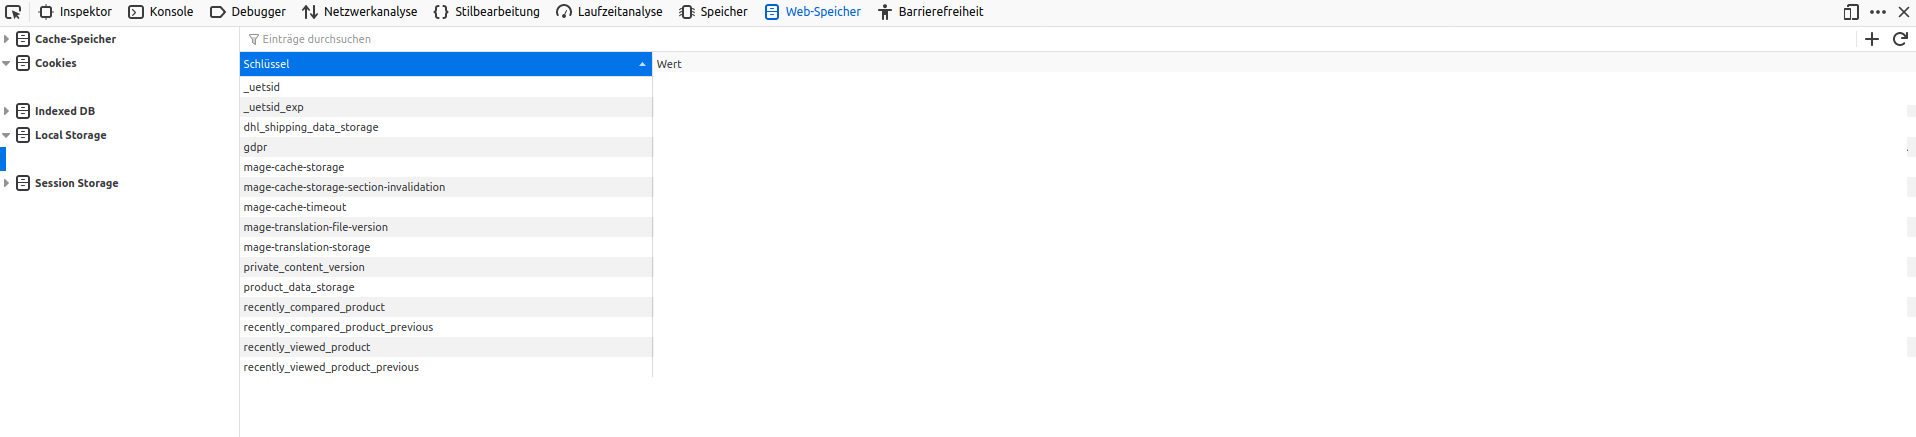
1. Determine the cookie name
Open the storefront with the tracking active and read the name of the cookie or of the local storage entry in the browser developer tools.
2. Create a CMS block with the description
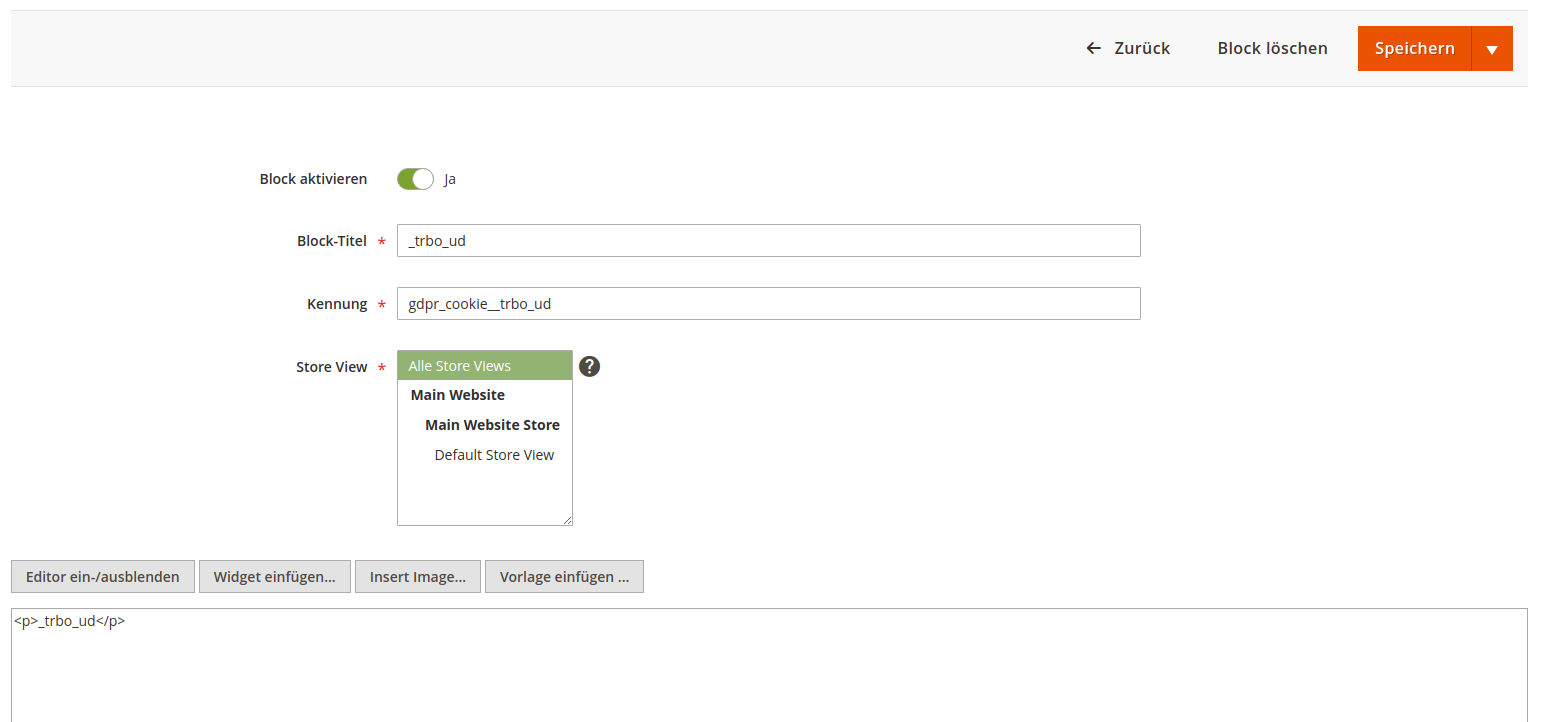
The GDPR popup takes the title and the description of a cookie from a static block. Create it
under Content → Blocks with the identifier gdpr_cookie_<cookie name> (here
gdpr_cookie__trbo_ud), assigned to all store views.
3. Register the cookie in the GDPR module
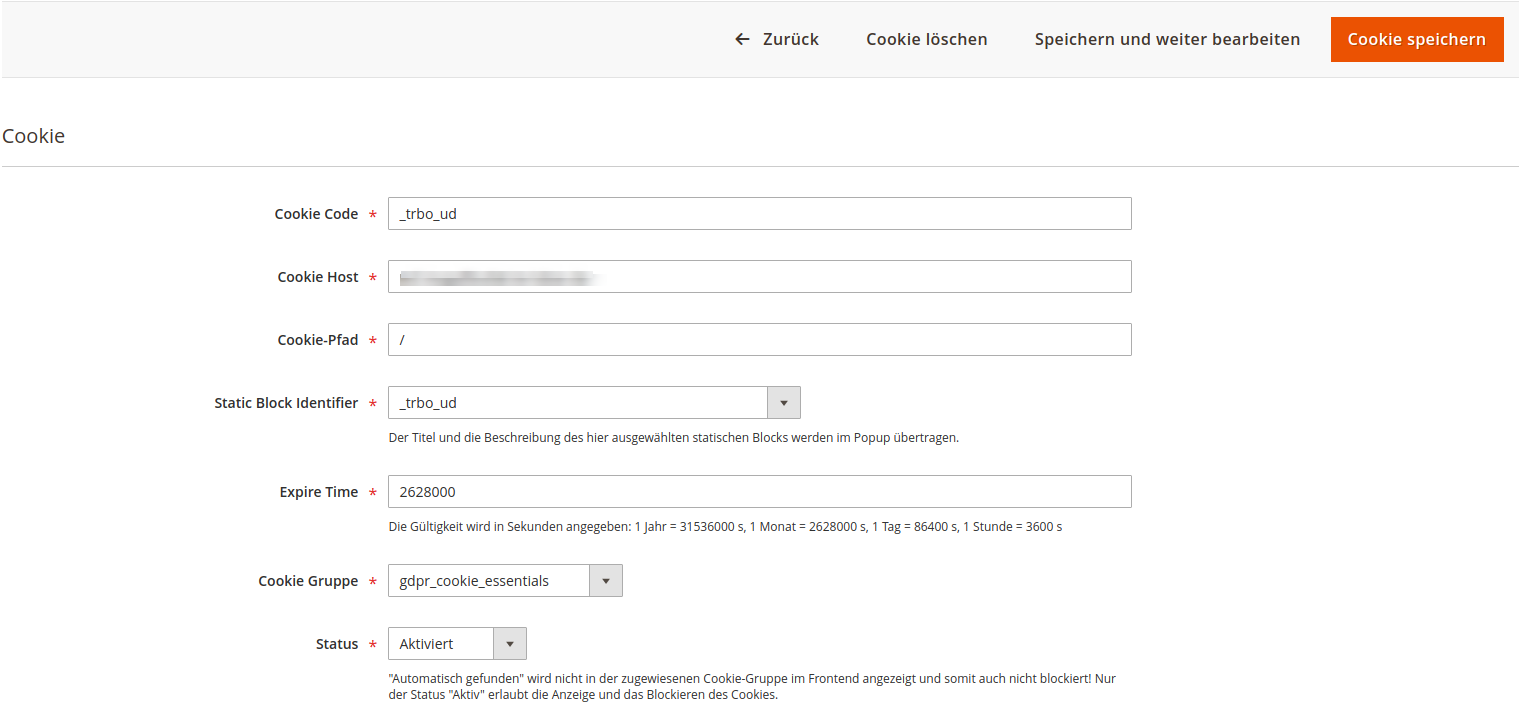
Under clever+zöger → GDPR EU PrivacyGuard → Cookies create the entry: cookie code, host, path, the static block from step 2, the lifetime in seconds (1 month = 2628000), the cookie group and the status. Only the status Active makes the cookie appear in its group in the storefront and be blocked until consent is given.
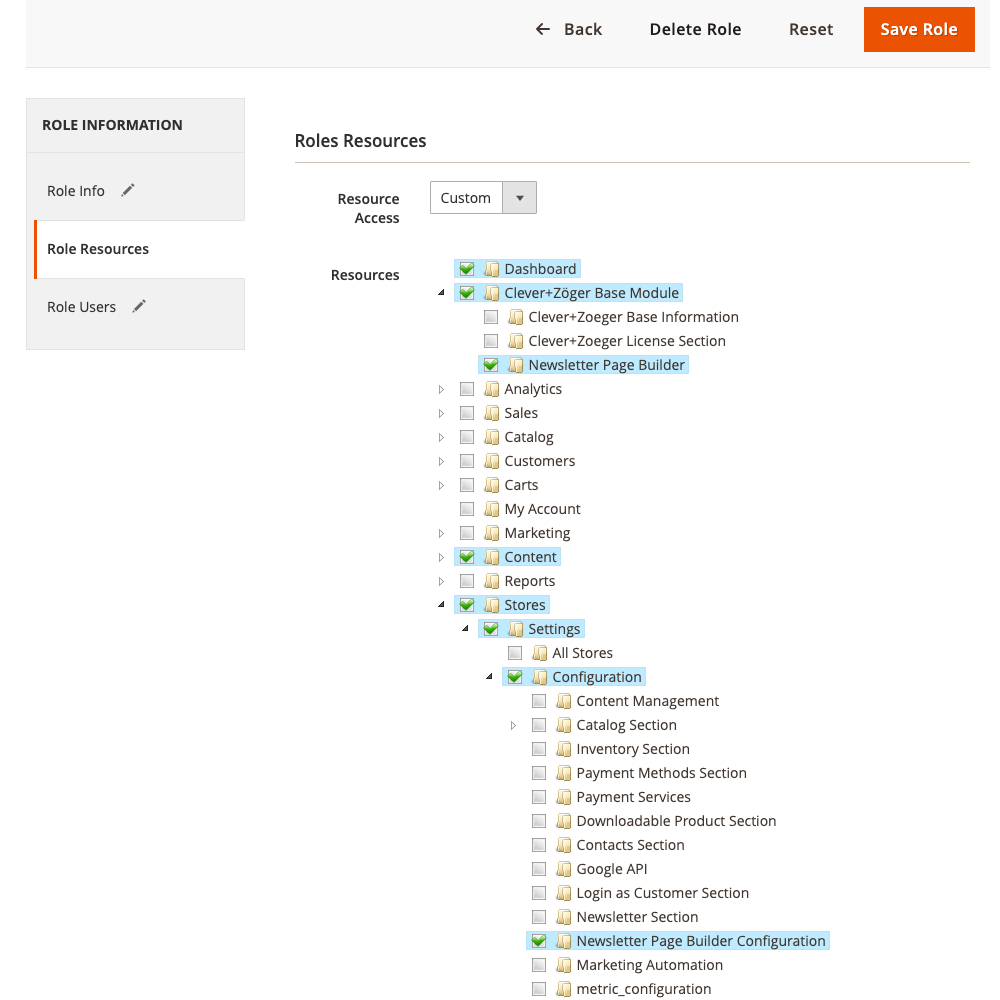
Backend: ACL
-
Navigate to System > Permissions > User Roles.
-
Edit the Role you like or add a new Role.
-
Then, click a Role Resources tab and select Resource Access as Custom.