Extension: Smart Data Synchronizer
-
Extension Name: ext.magento2.cleverzoeger.data-sync (CleverZoeger_DataSync)
-
Magento Compatibility: 2.4.x
-
PHP Compatibility: 8.1, 8.2, 8.3, 8.4
This extension synchronizes data from one Magento 2 system to another. It is installed on both systems: the source (where an editor triggers a sync) and the target (which receives the data over the Magento WebAPI and creates or updates the entity idempotently). Supported entity types: product, category, CMS page and CMS block.
Concepts
-
Sync Target – a configured remote Magento 2 system (base URL + credentials).
-
Sync Template – a reusable definition: entity type + fields + target(s) + options.
-
Sync Job – a log entry of every sync run, incl. per-target status and result.
All screens live in the admin menu under CLEVER+ZOEGER › Smart Data Synchronizer.
Backend: Configuration
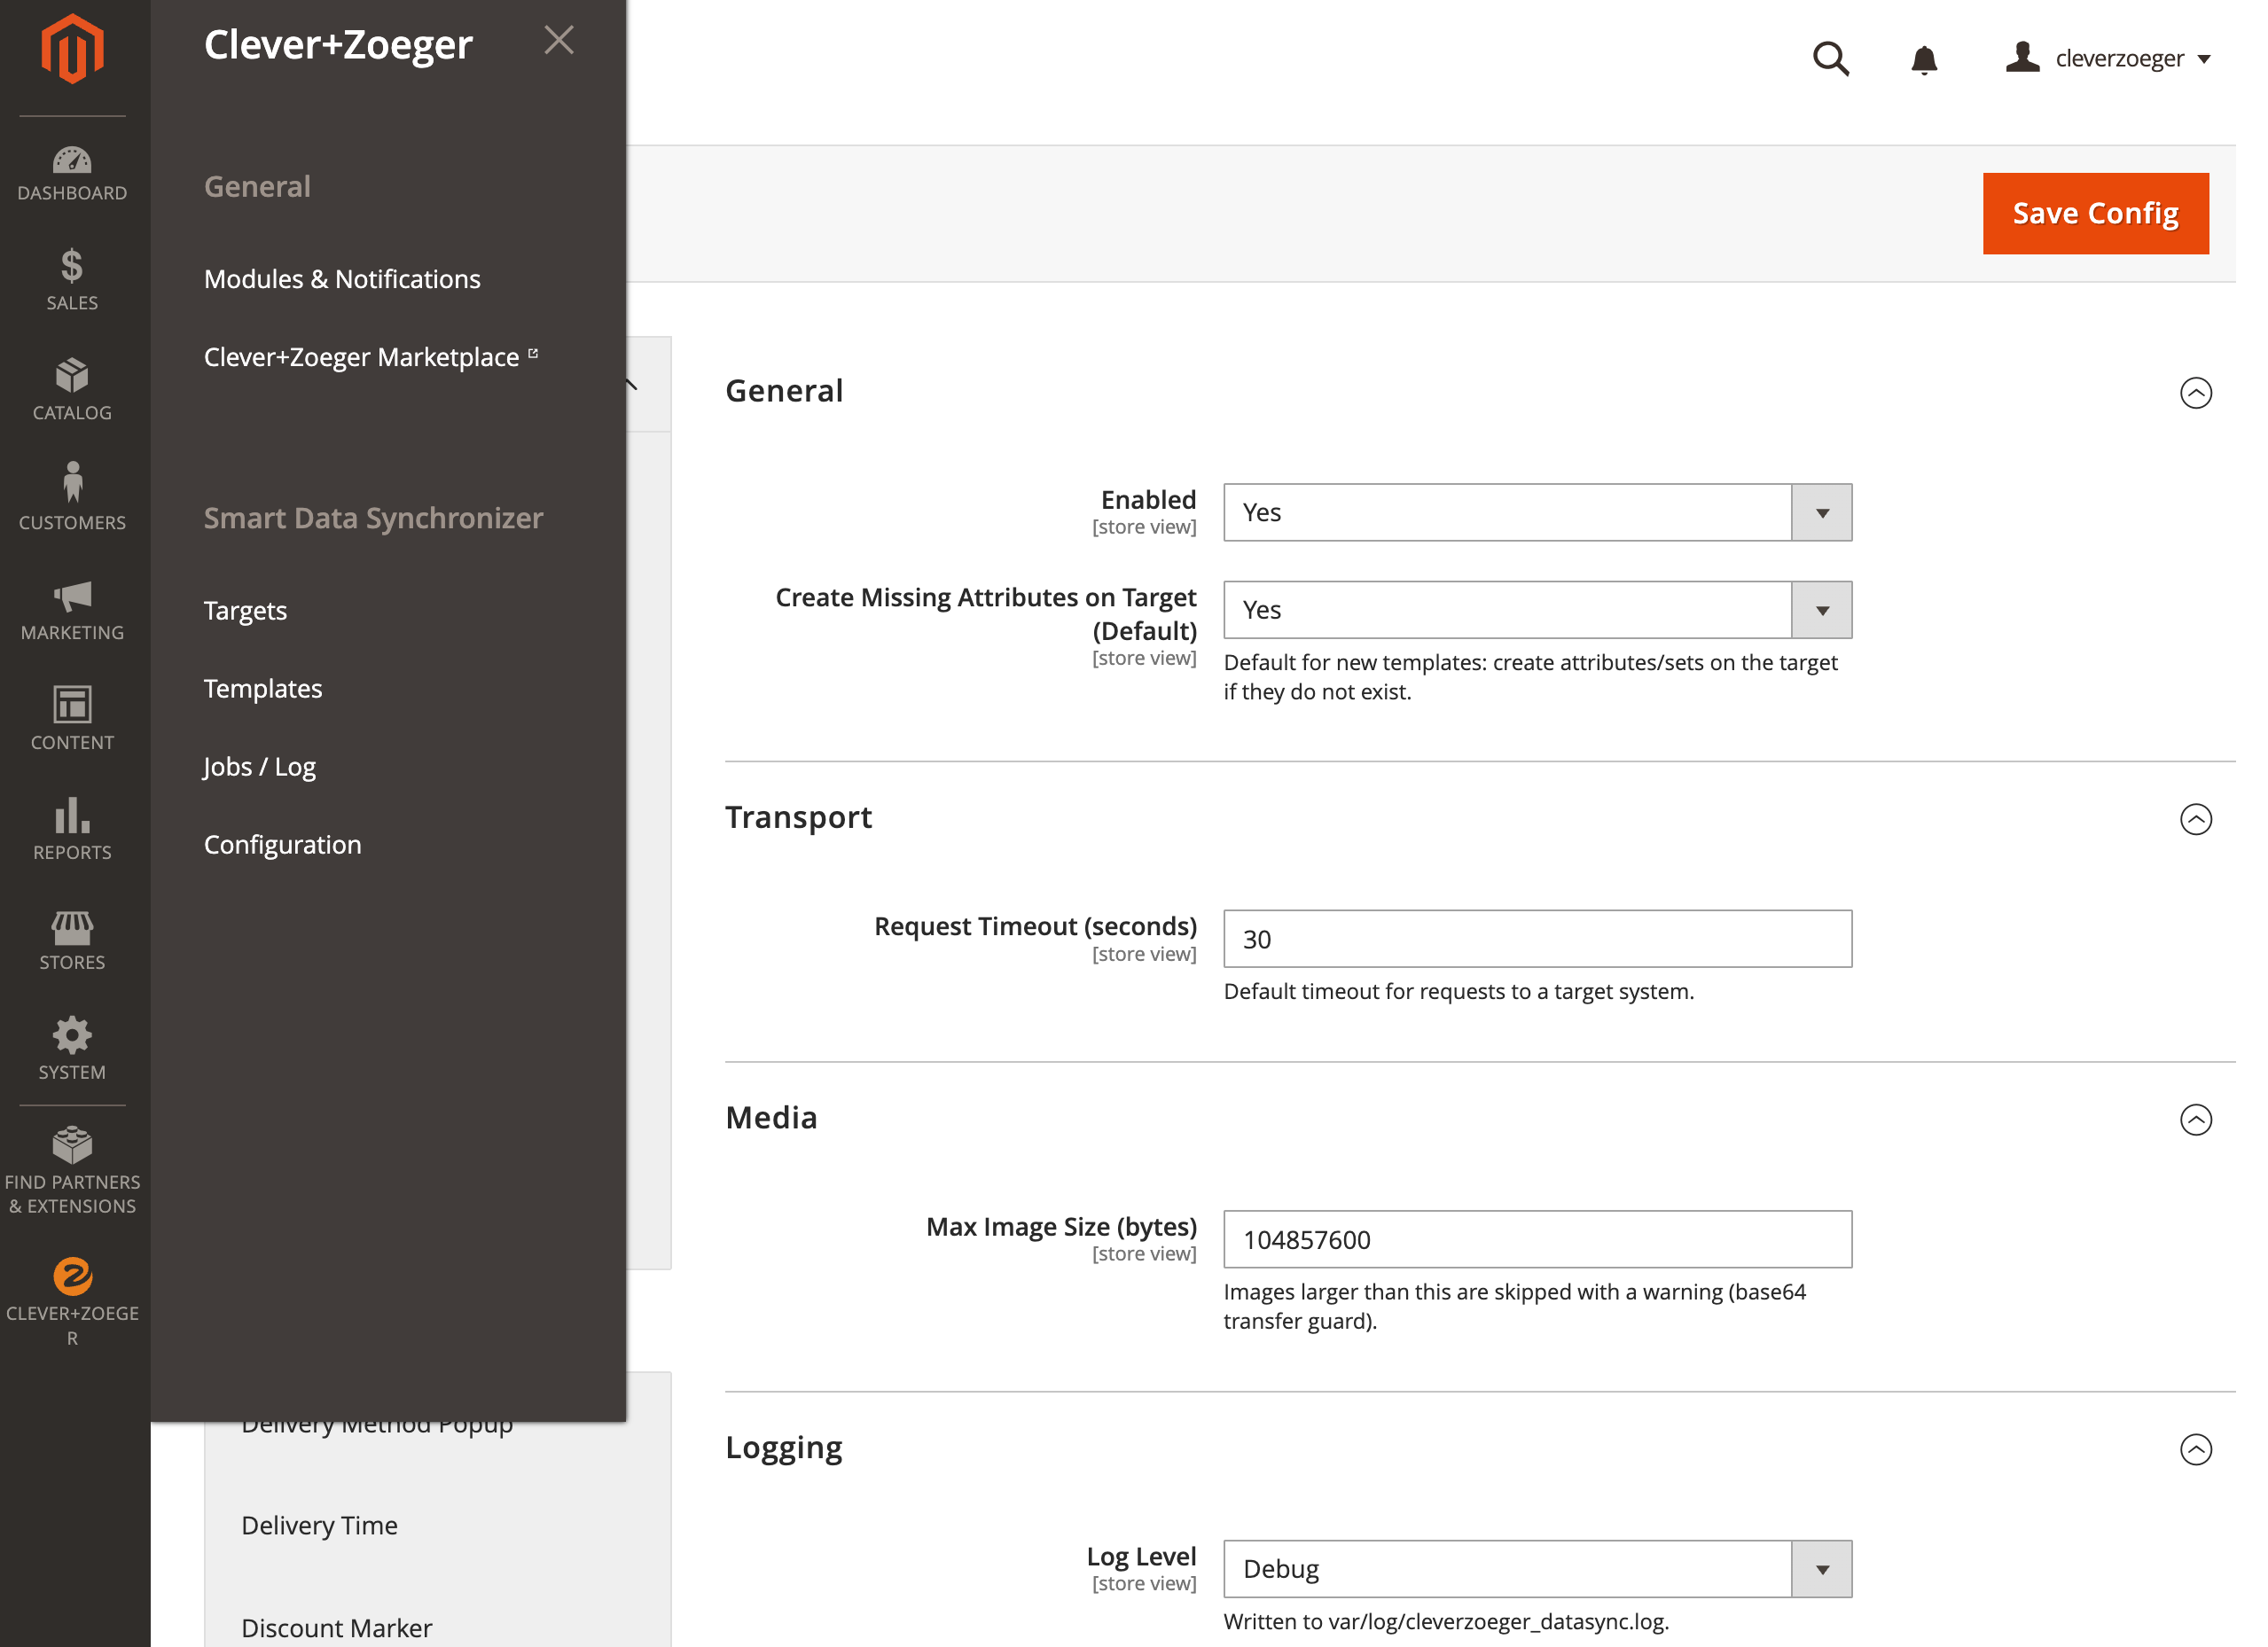
Stores › Settings › Configuration › CLEVER+ZOEGER › Smart Data Synchronizer > Configuration.
-
Enabled – Enable or Disable this module
-
Create Missing Attributes on Target If "Yes", missing attributes and attributesets will be created at the target system.
-
Request Timeout – Request timeout in seconds, for connecting the target system.
-
Max Image Size – Media filesize limit (base64 encoded) to filetransfers.
-
Log Level – Logfile will be written into
var/log/cleverzoeger_datasync.log.
Synchronizing Targets
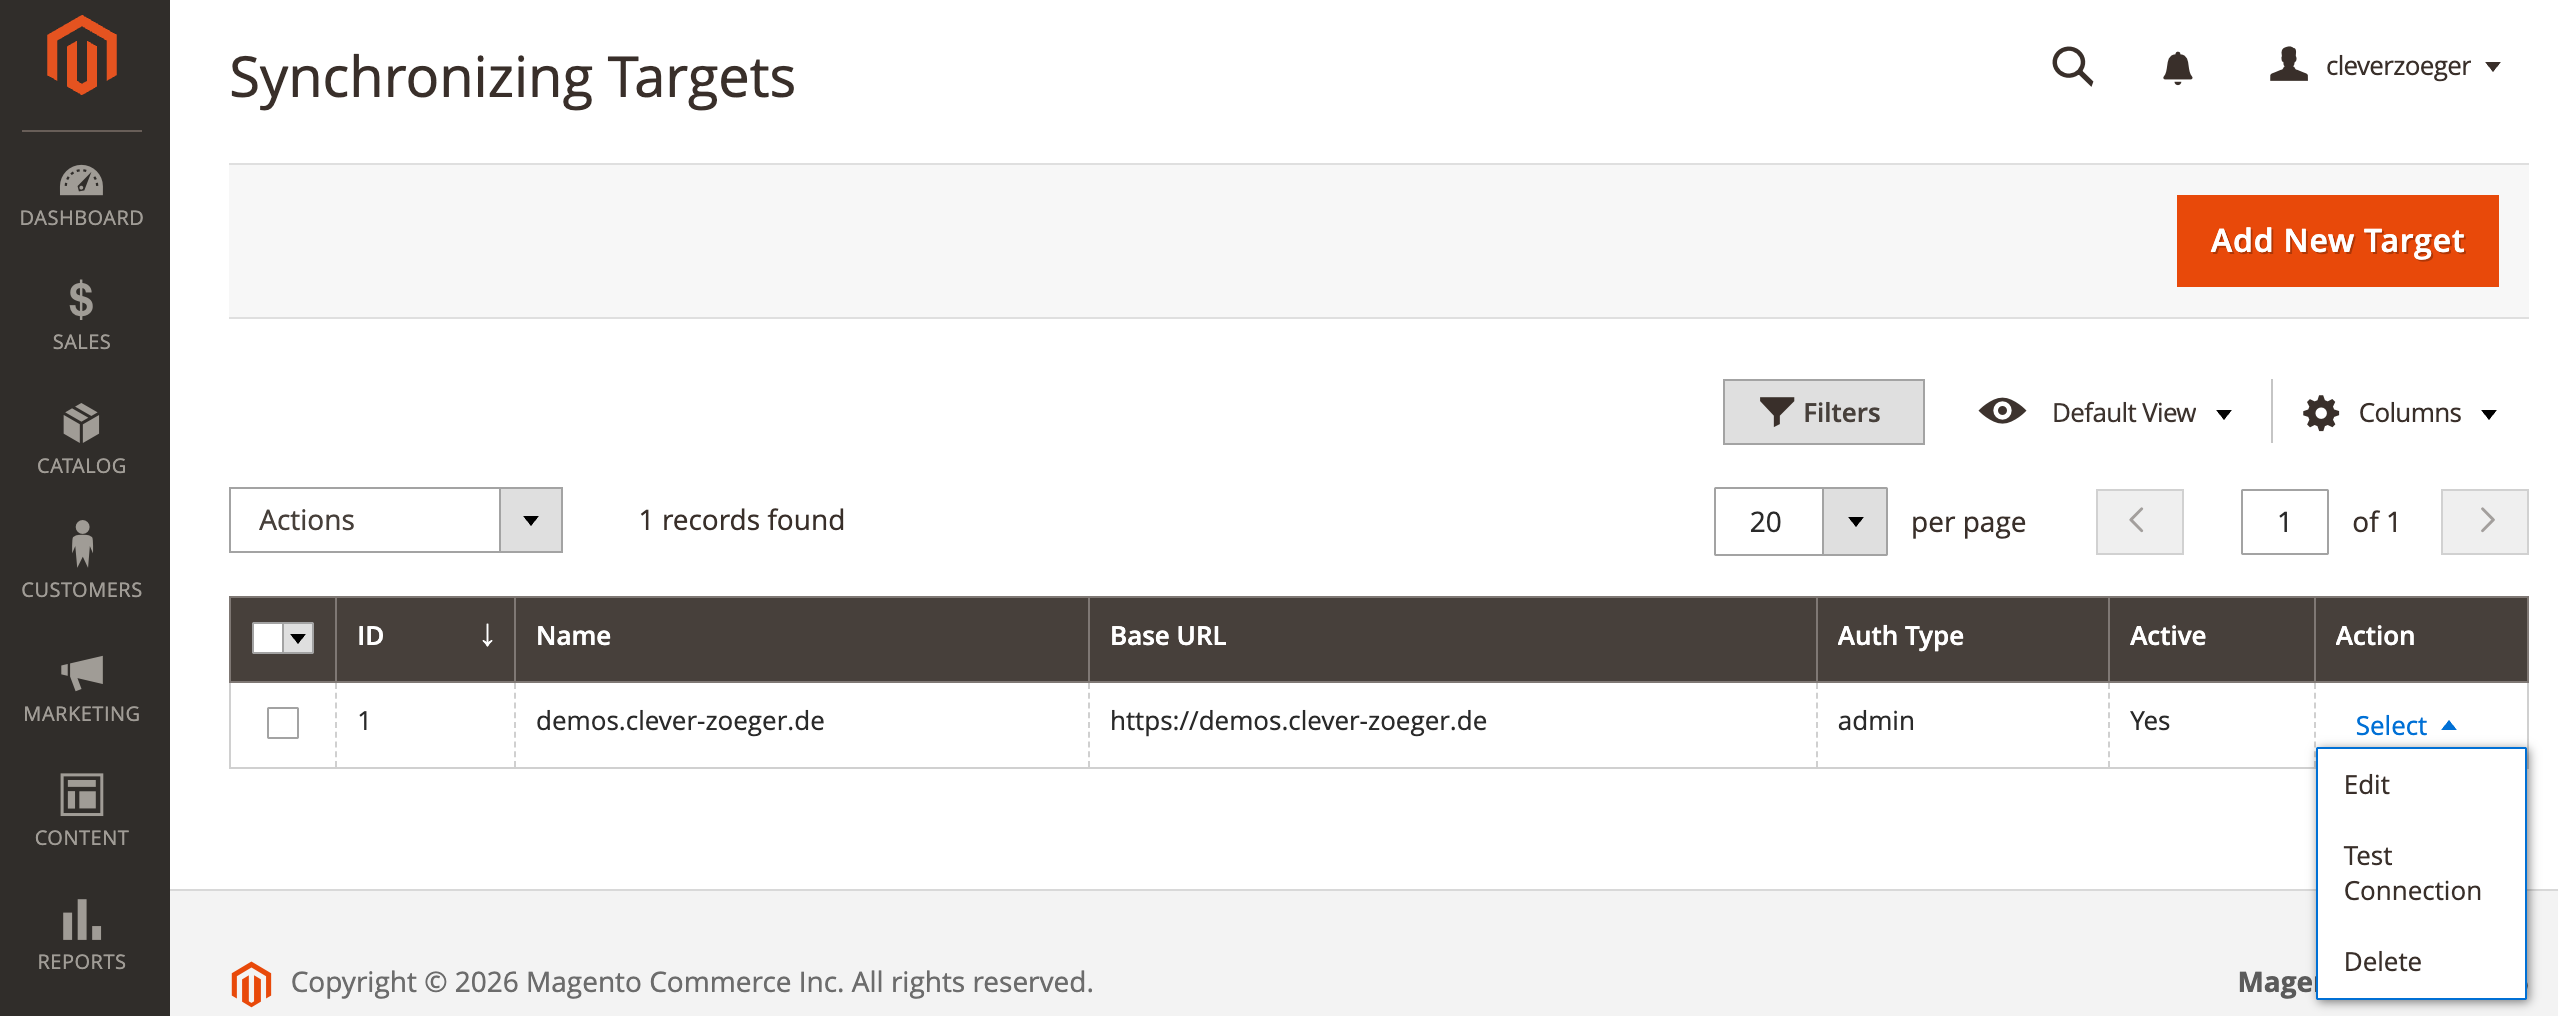
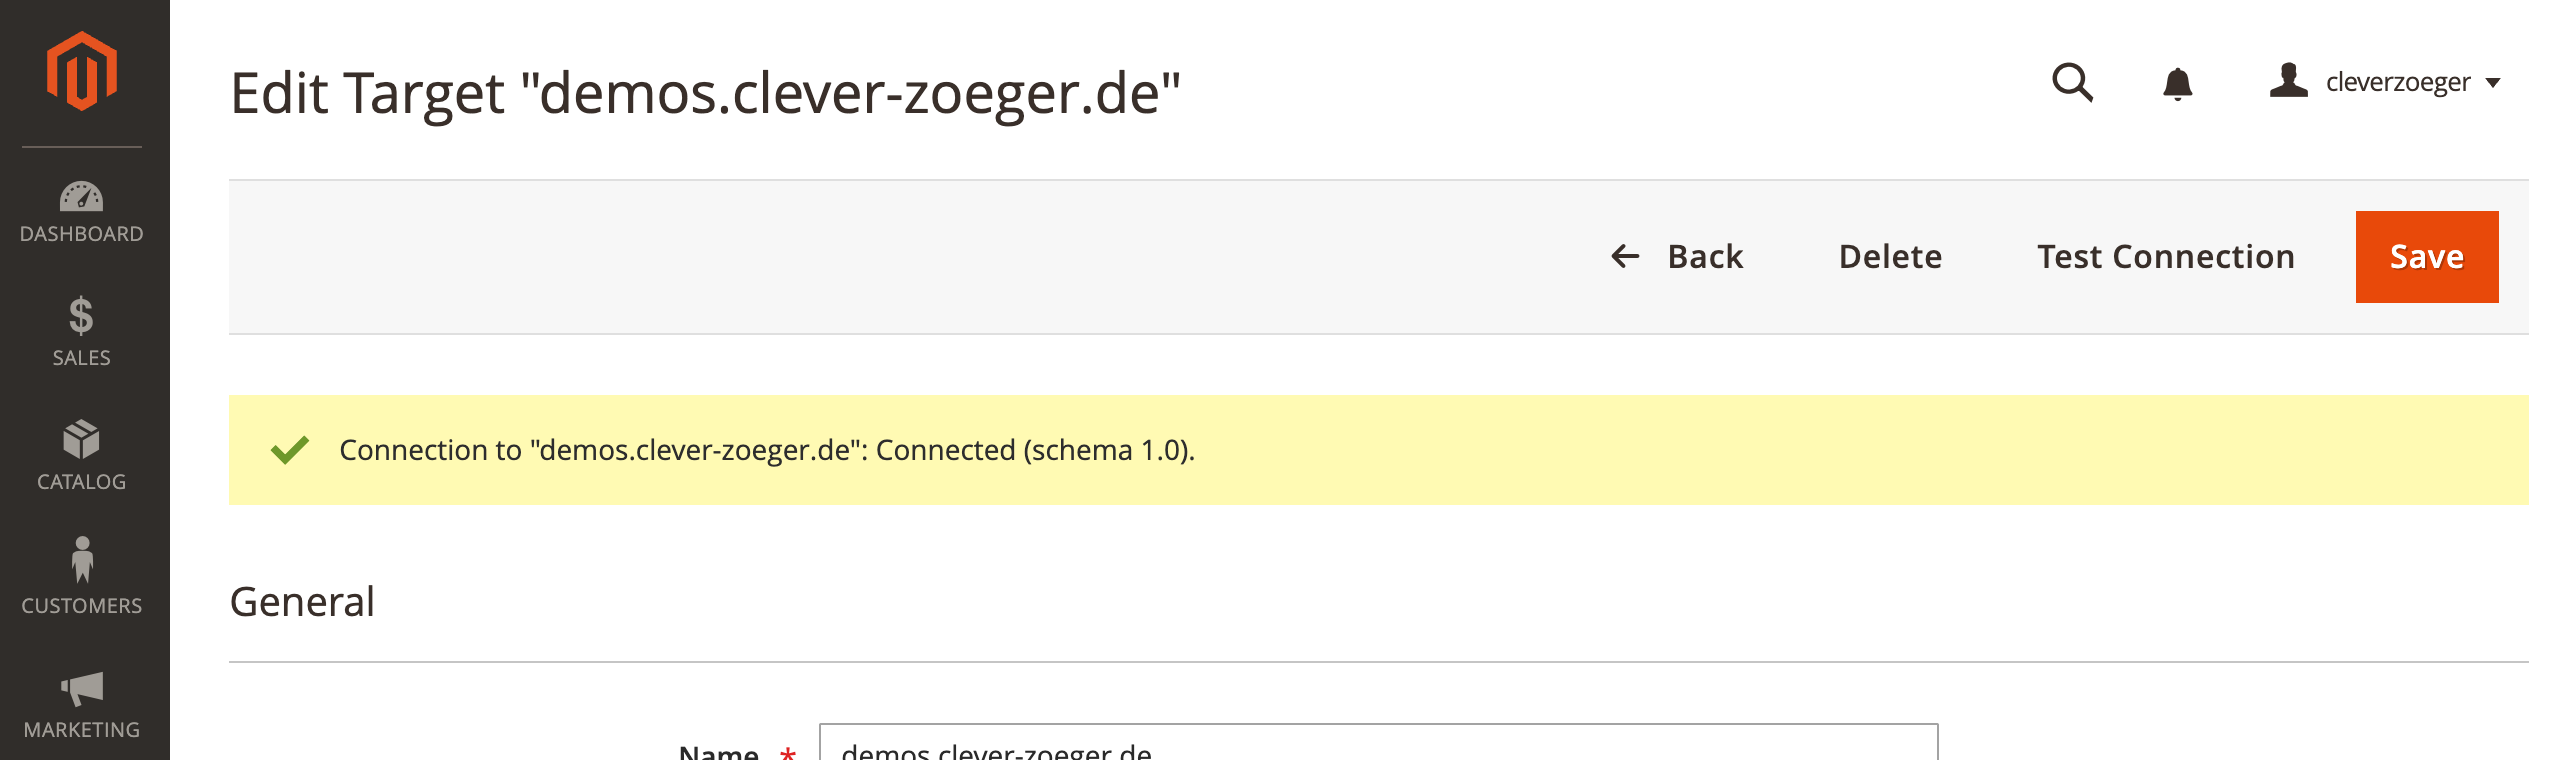
Stores › Settings › Configuration › CLEVER+ZOEGER › Smart Data Synchronizer › Targets. A target is a remote Magento system this store can send to.
-
Add New Target Create a new target system configuration
-
Edit Modify an existing target system configuration
-
Test Connection Testing an existing target system connection
Synchronizing Targets Edit
-
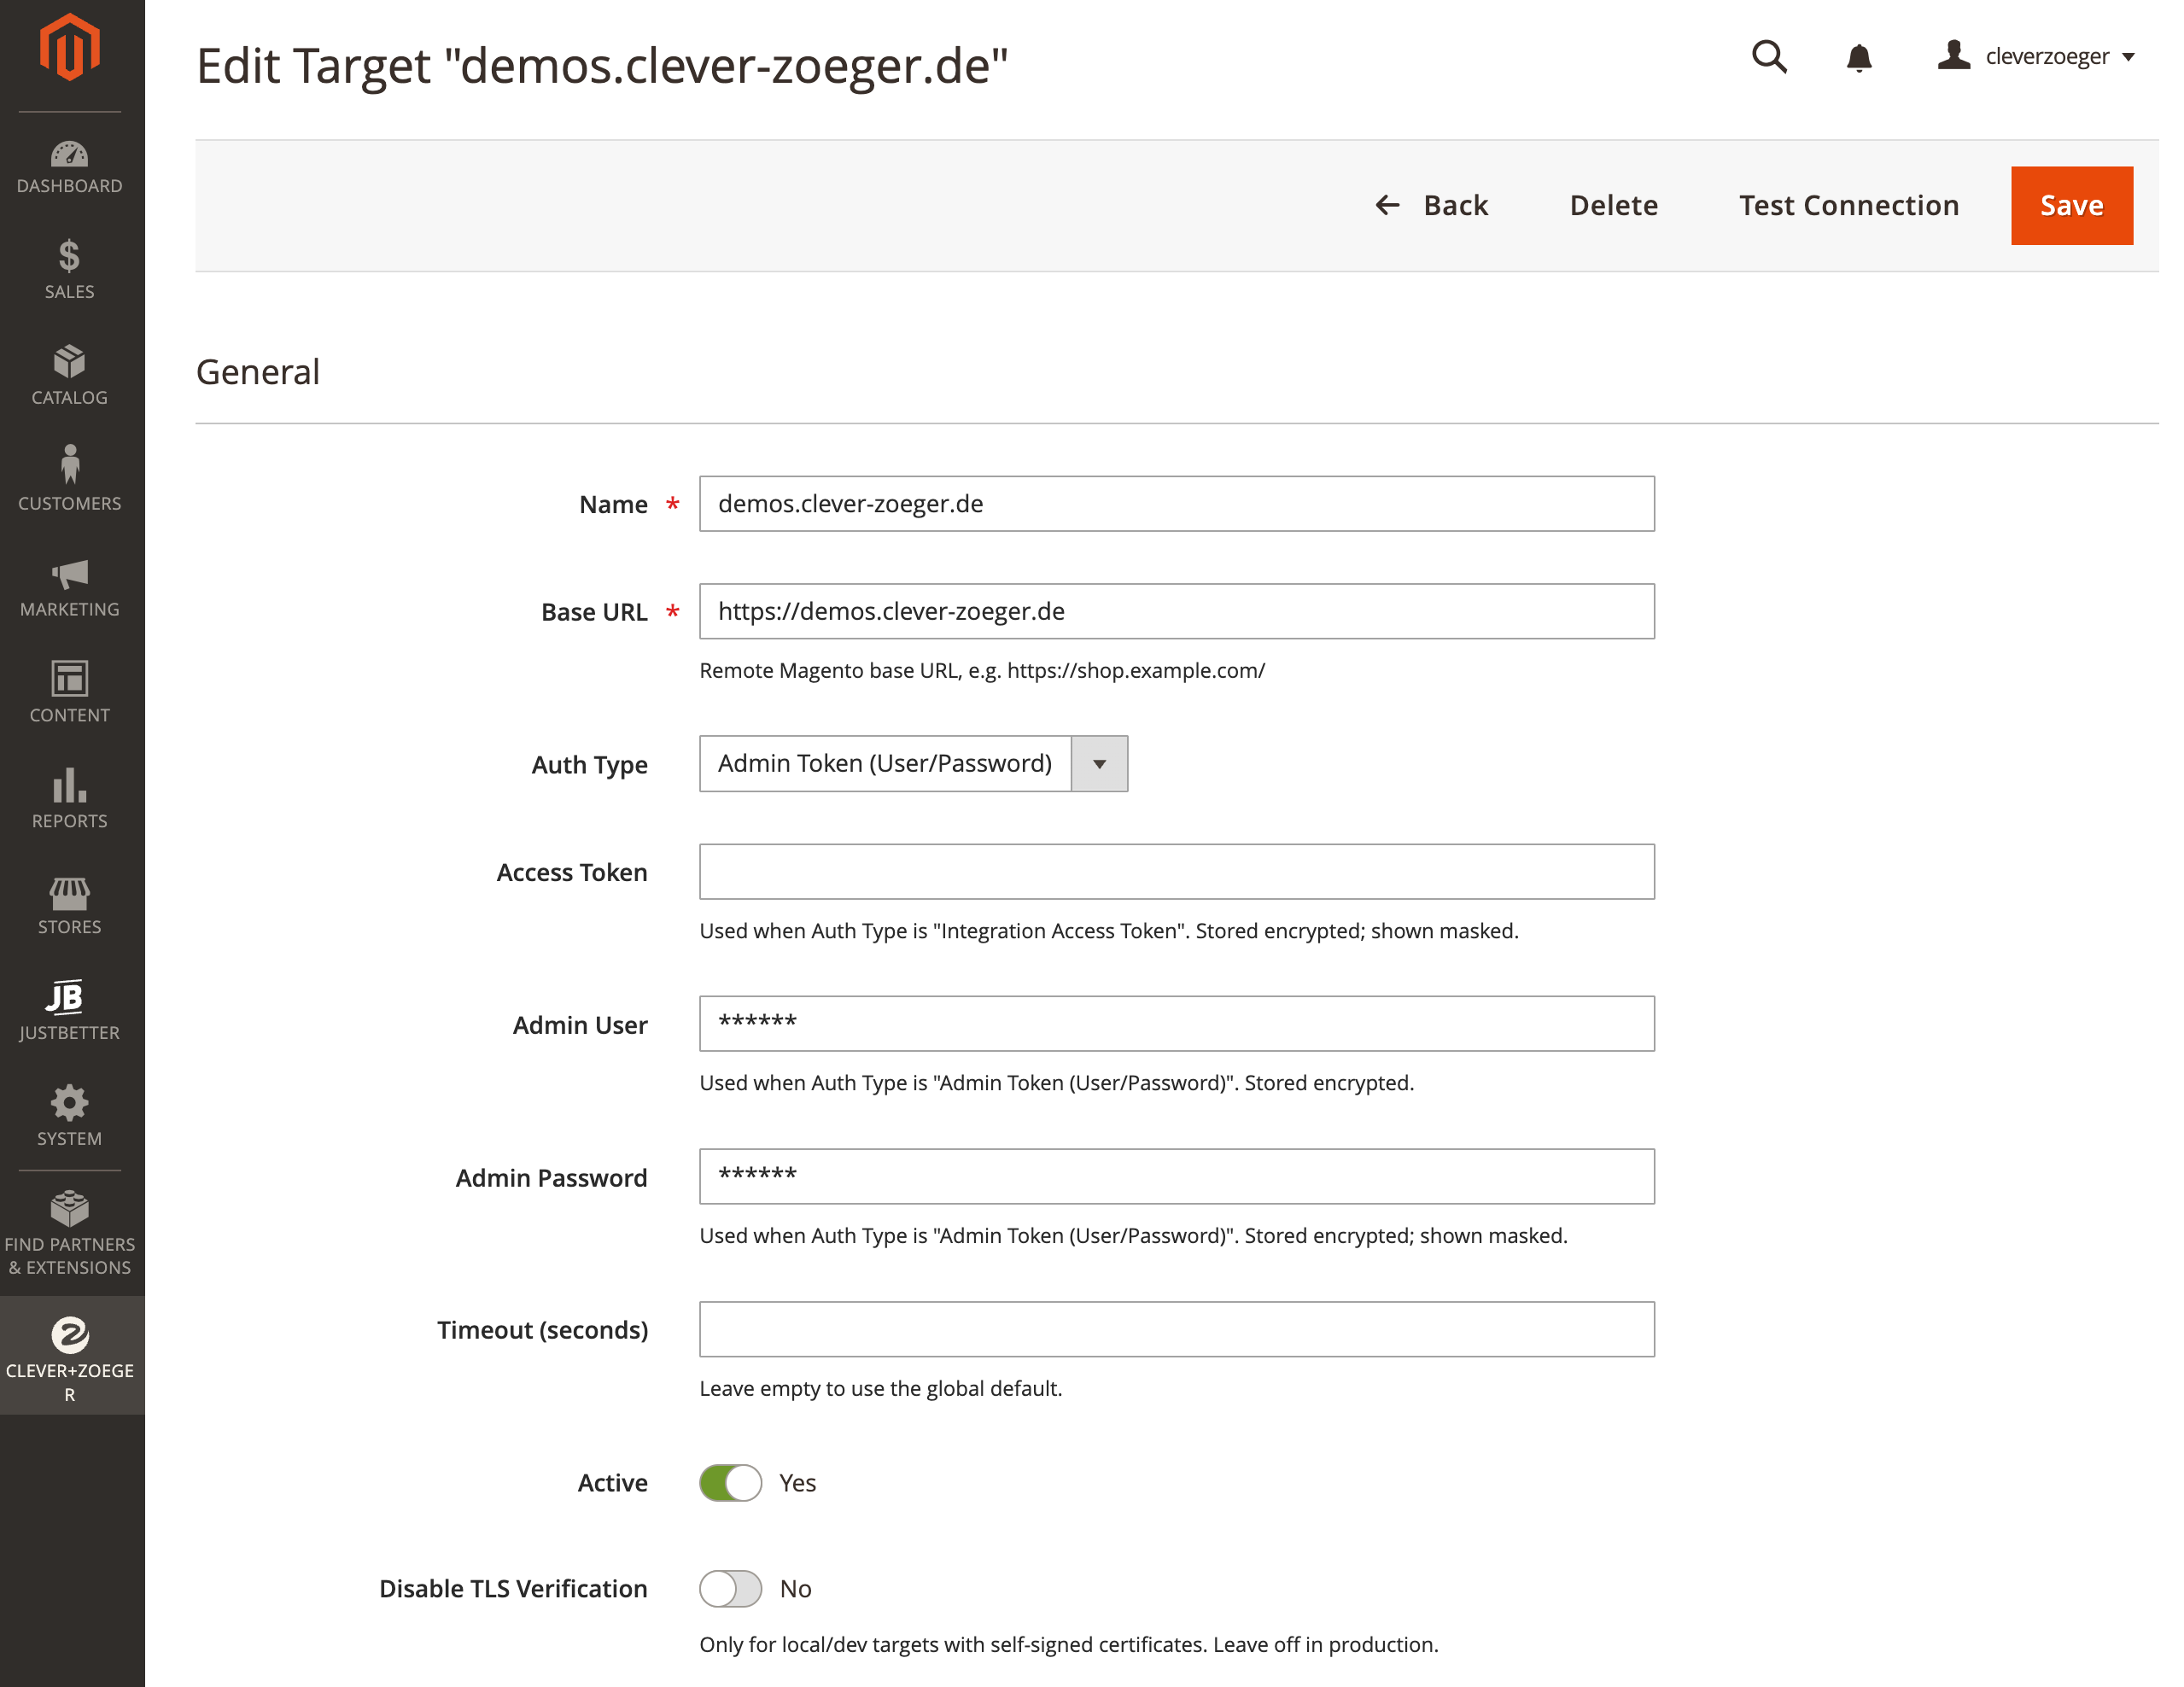
Name Display name, only for your own better understanding.
-
Base URL Remote Magento base URL, e.g.
https://shop.example.com/. -
Auth Type
Integration Access Token(static token) orAdmin Token (User/Password)(a bearer token is fetched at runtime and cached). -
Access Token / Admin User / Admin Password Access credentials, they are stored encrypted and will be displayed masked (
****). -
Timeout Connection timeout only for this Target override default values. Keep it empty to use default values).
-
Active Activate this Target Connection for synchronization. Only active targets receiving data.
-
Disable TLS Verification For local or development targets with self-signed certificates. Don’t enable this for production environment.
Synchronizing Templates
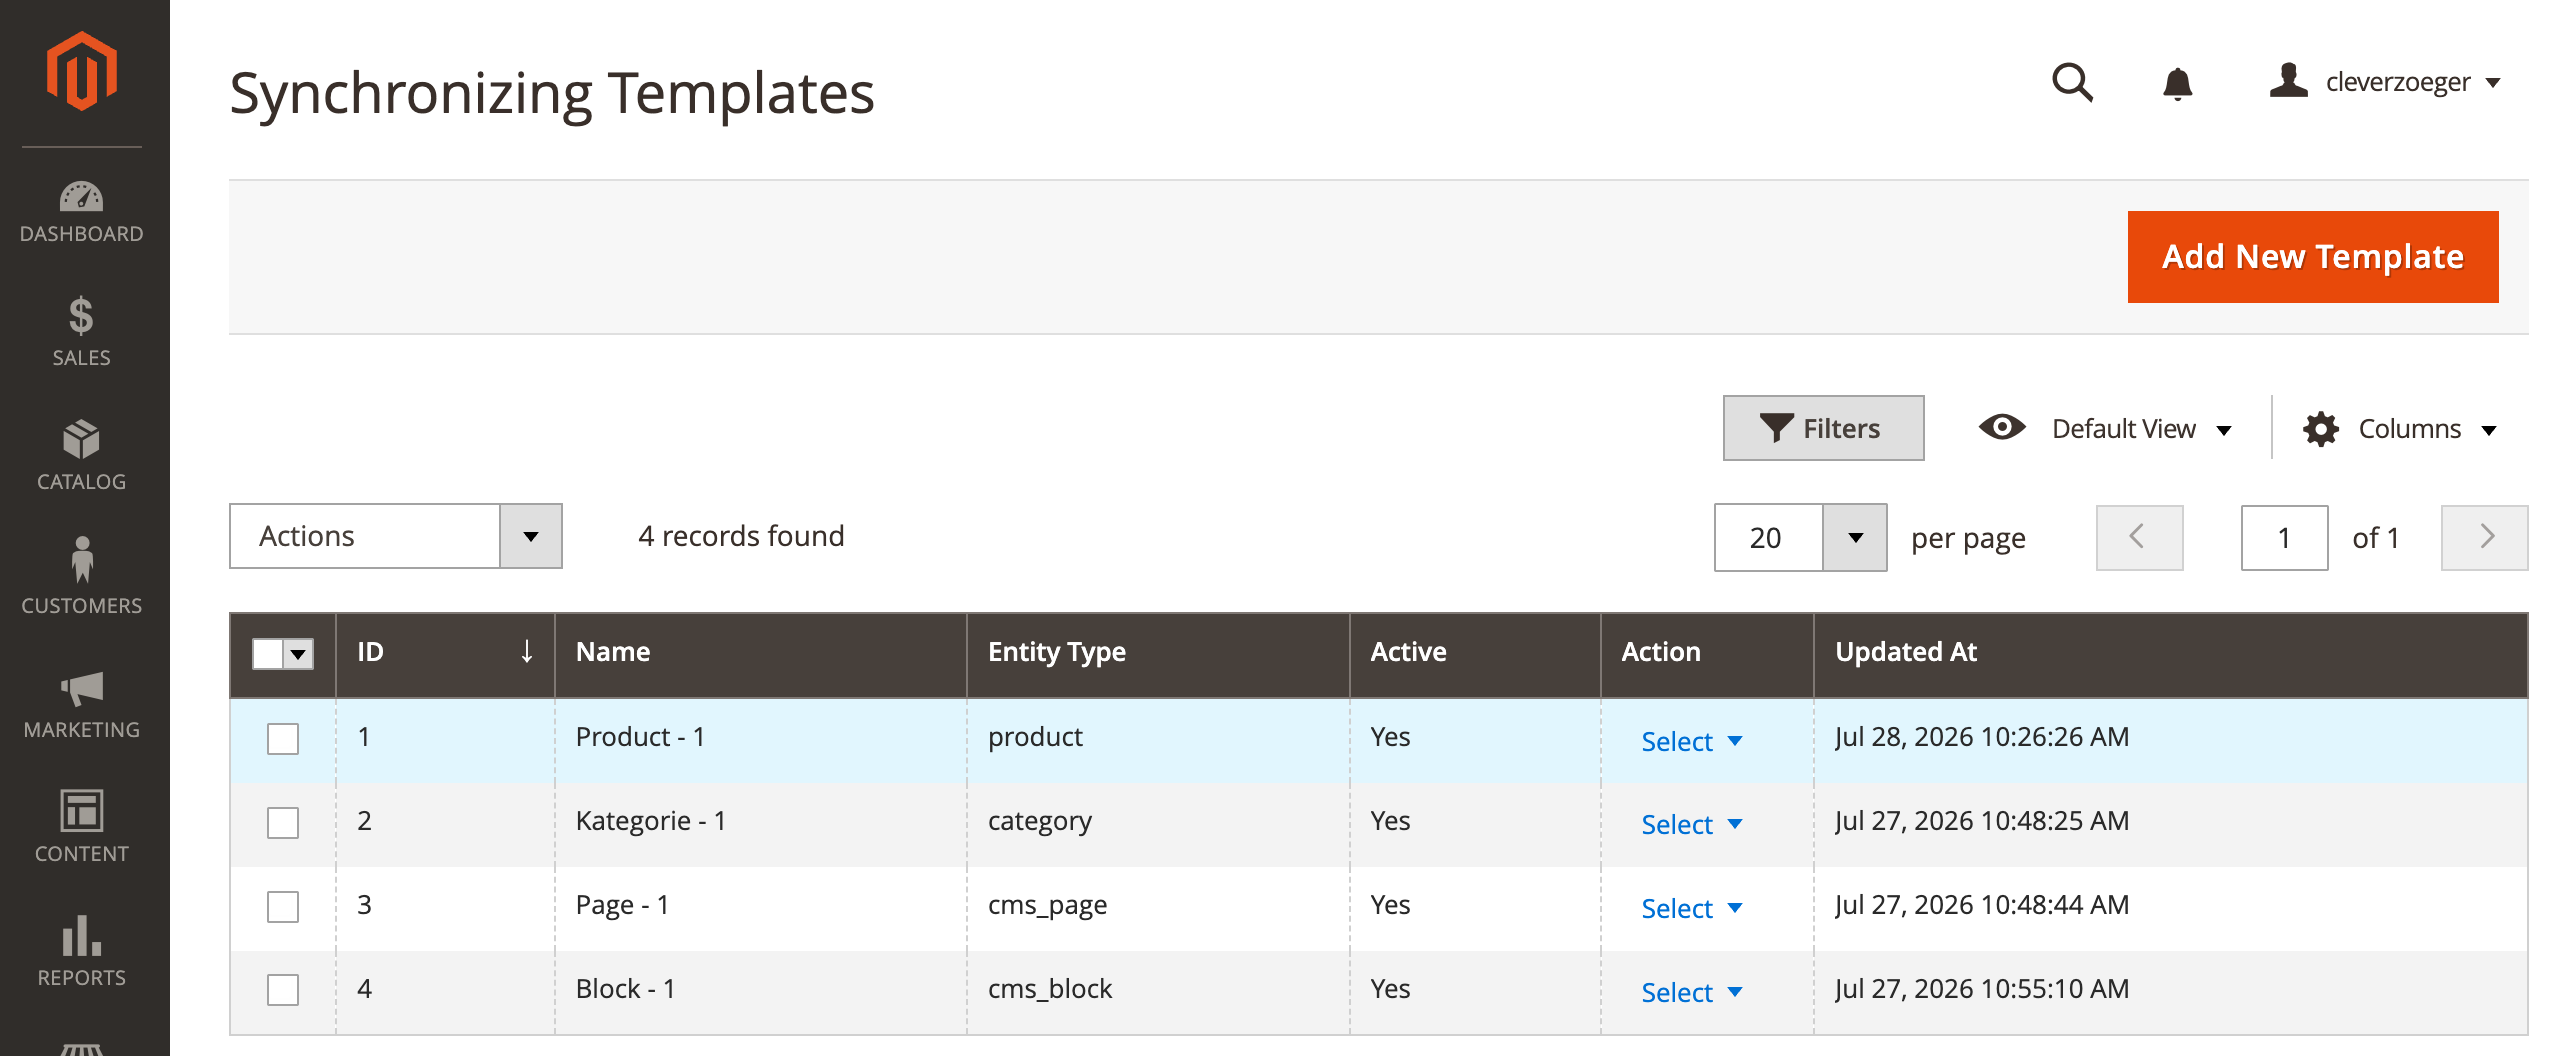
Stores › Settings › Configuration › CLEVER+ZOEGER › Smart Data Synchronizer › Templates. A template defines what is synced and where to.
-
Add New Template Create a new synchronizing Template
-
Edit Modify an existing synchronizing Template
Synchronizing Templates Edit
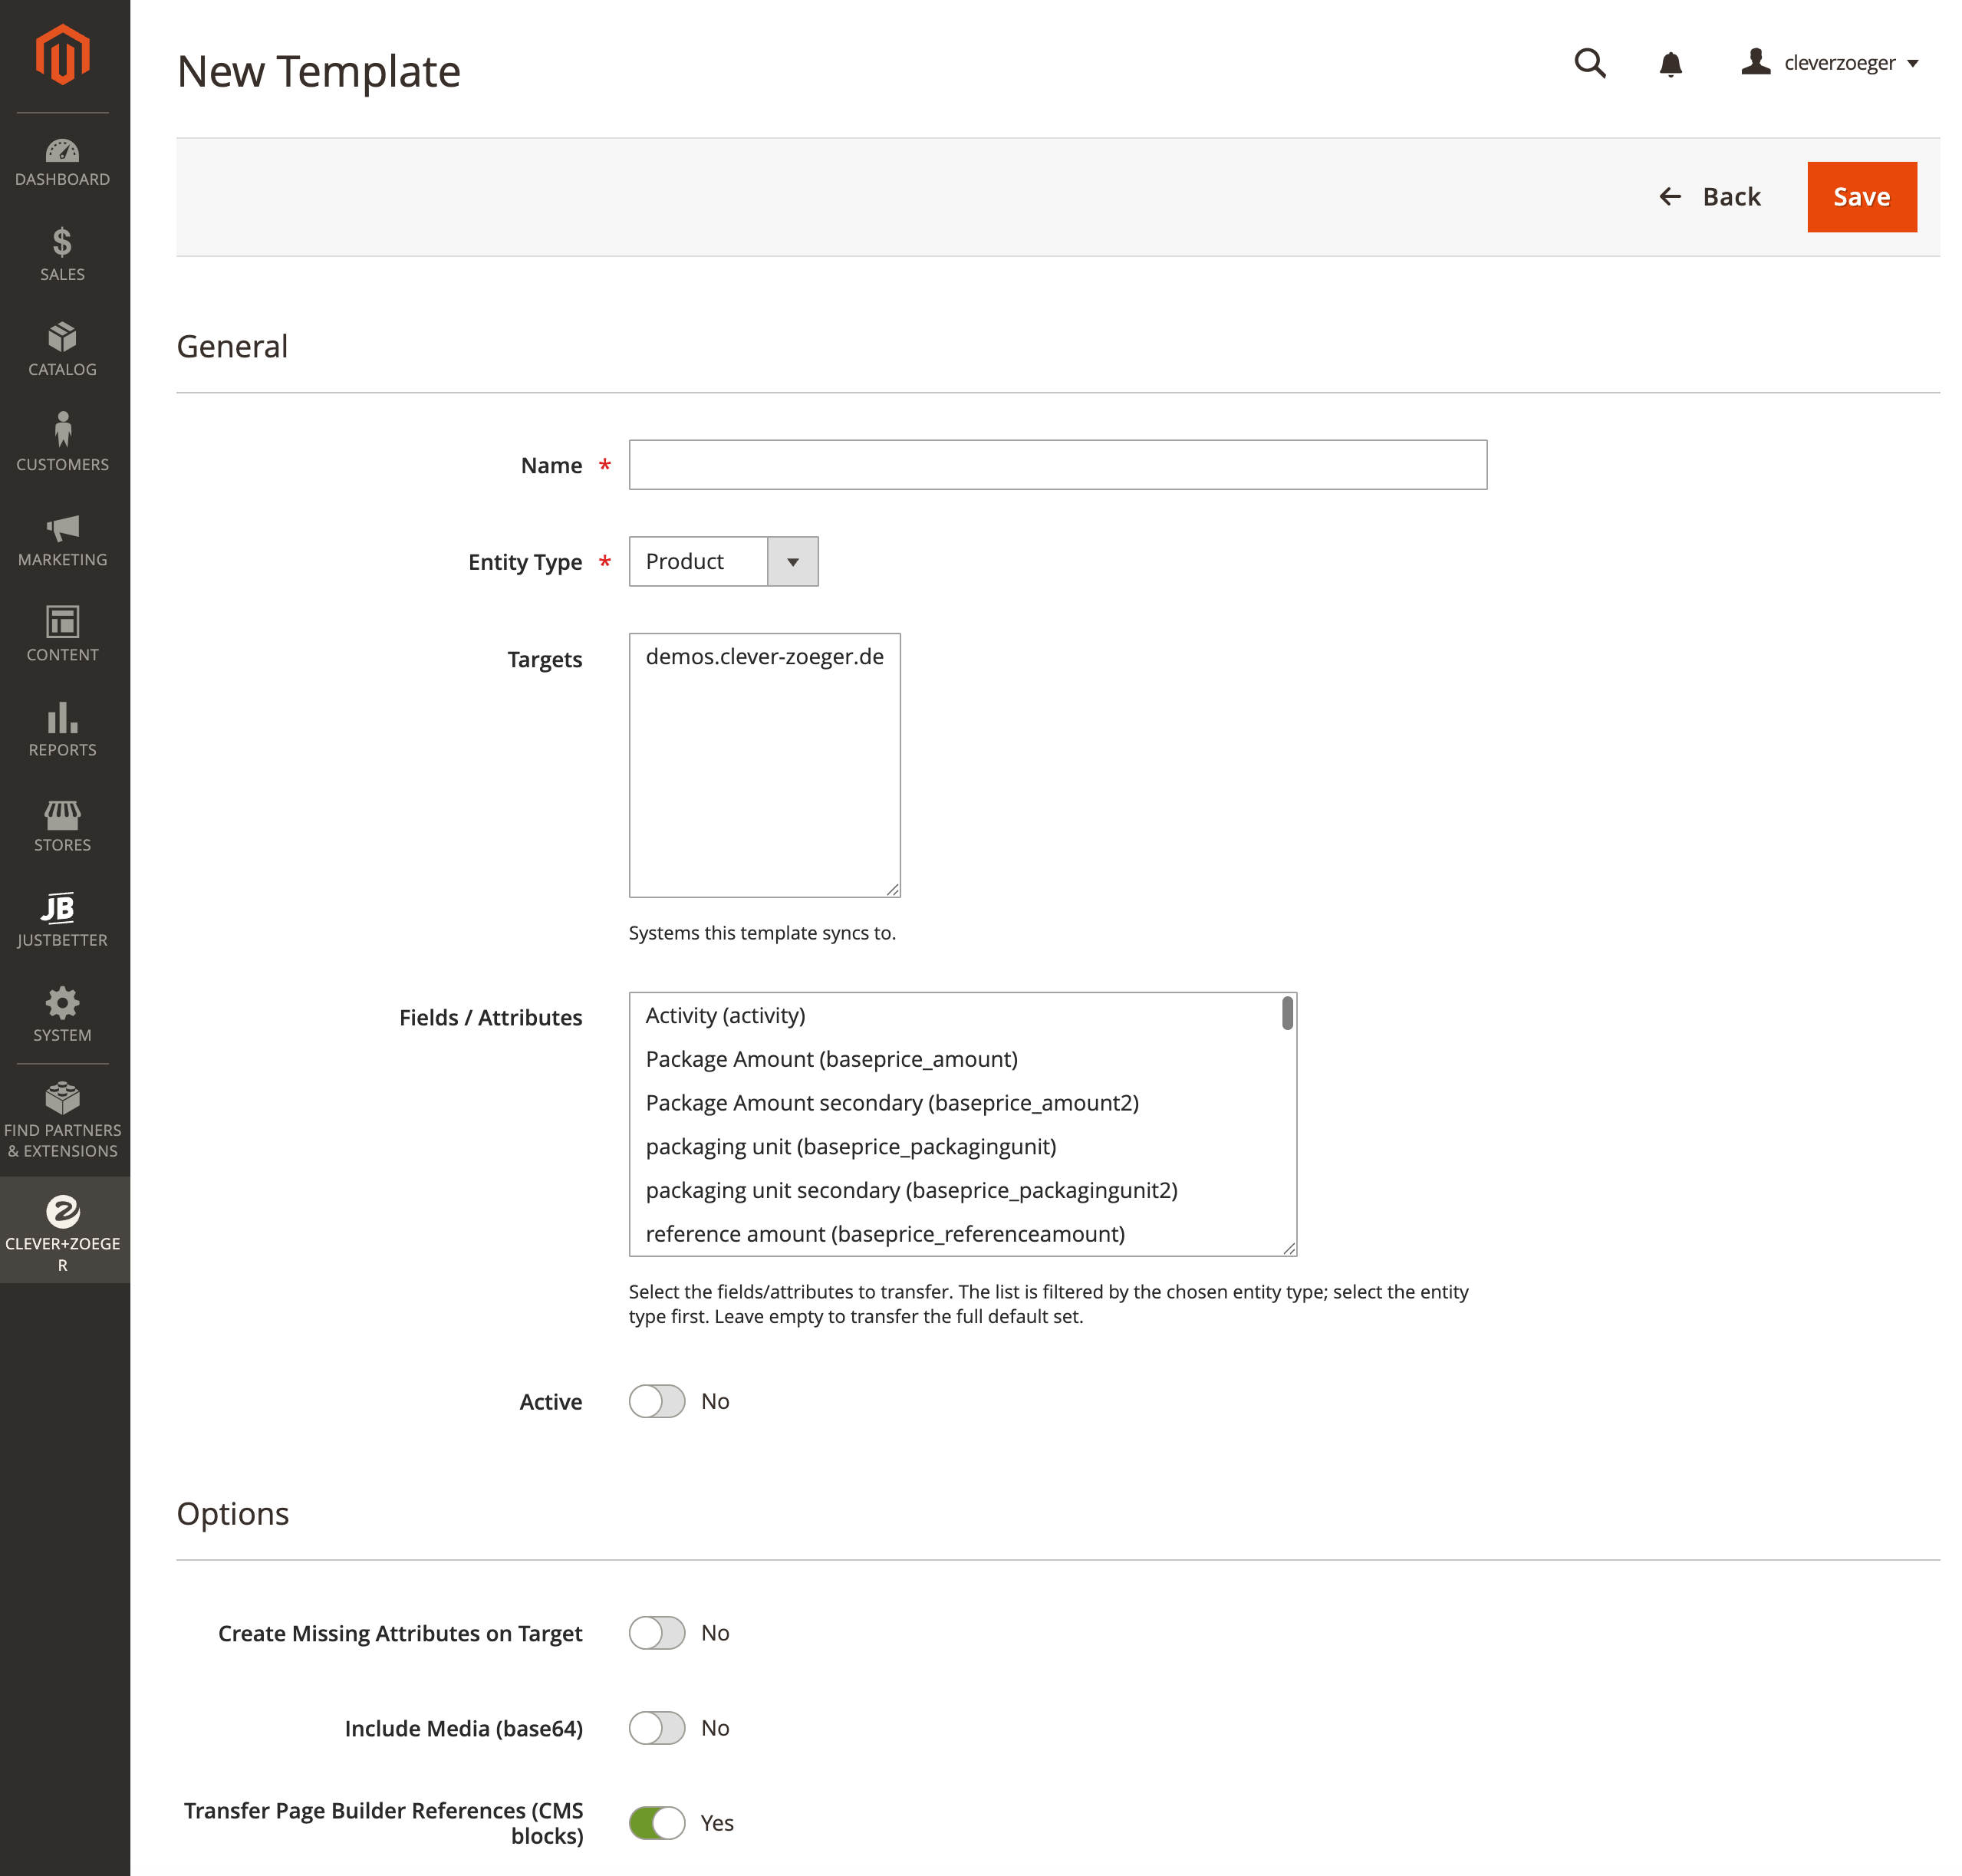
The following Edit Forms will be visible by switching the Entity Type inside the edit form.
-
Name Display name, only for your own better understanding.
-
Entity Type Defines, which Entity should be sychronized and how (Product, Category, CMS Page or CMS Block).
-
Targets One or more targets systems which should syncs with that template configuration.
-
Fields / Attributes A multiselect picker of the fields and attributes to transfer. If nothing will be selected, default values will be synchronized. Identity and structural keys (SKU,
identifier,url_key, parent references, media assets) are always transferred regardless of the selection. This list is filtered depending by the selected Entity Type above. For each Type do you ned a separate Template.-
Product Template offers all product attributes
-
Category Template contains all Category fields
-
CMS Page Template contains all CMS Page fields
-
CMS Block Template contains all CMS Block fields
-
-
Active Only active templates are offered when running a sync.
-
Create Missing Attributes on Target Create attributes and options on the target if they are not already existing.
-
Include Media (base64) Synchronize the product gallery images embedded as base64.
-
Transfer Page Builder References (CMS blocks) Synchronize CMS blocks referenced in Page Builder content and remap their IDs on the target.
Data Synchronizer Button
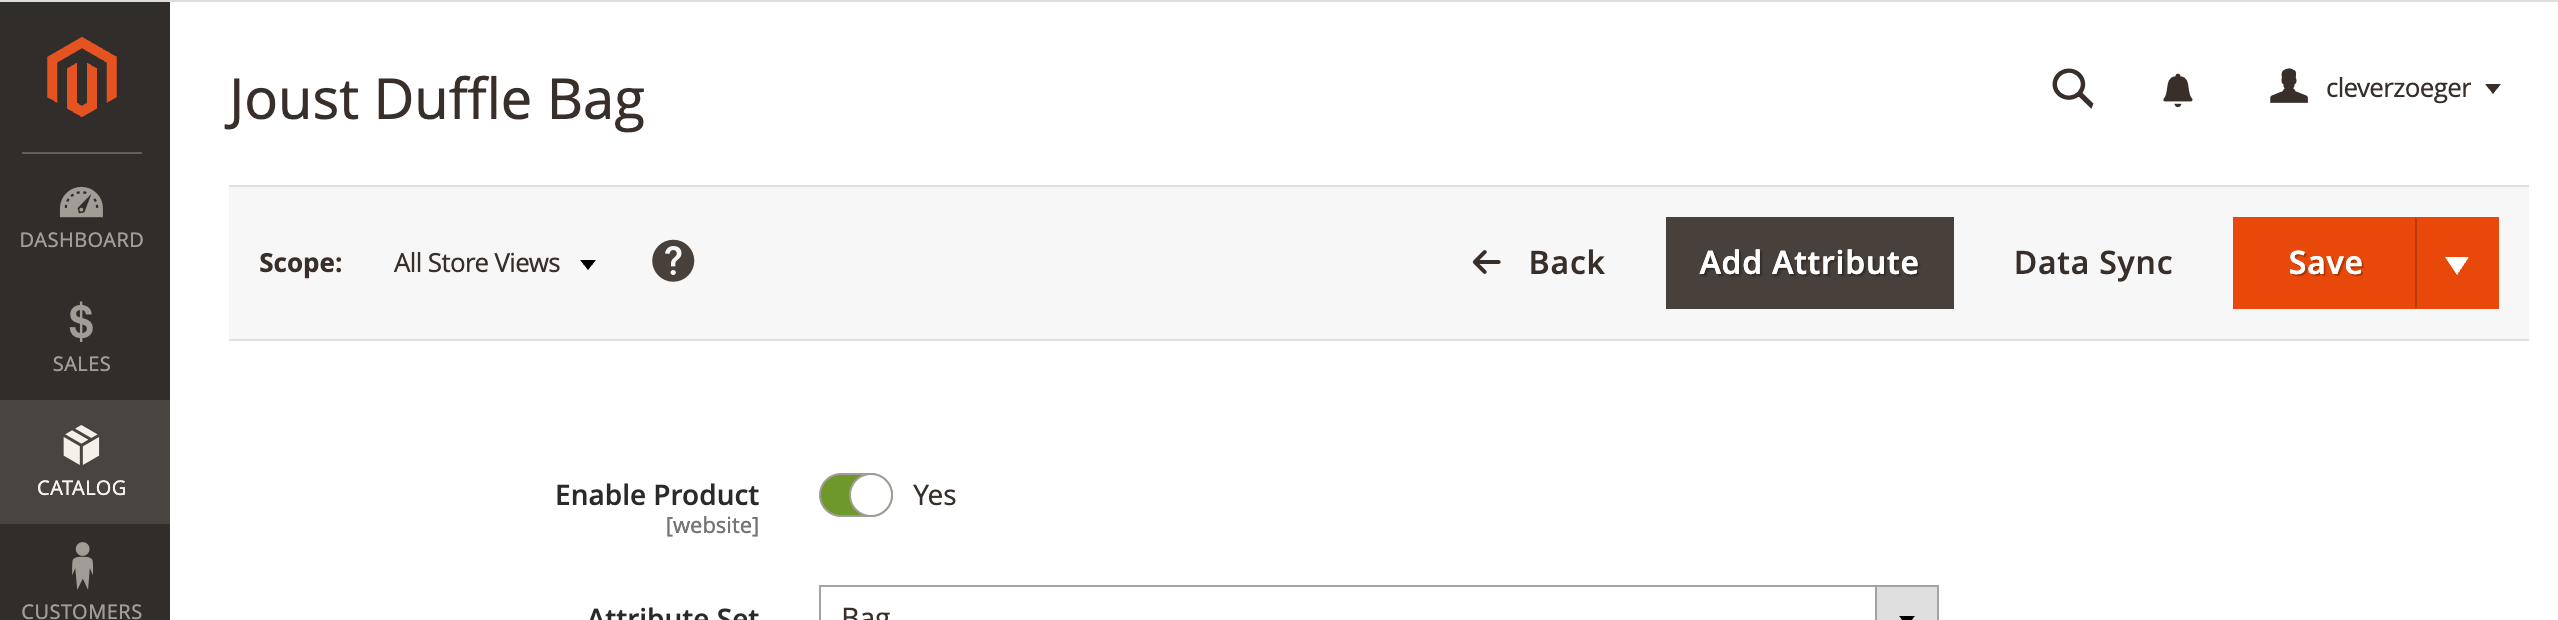
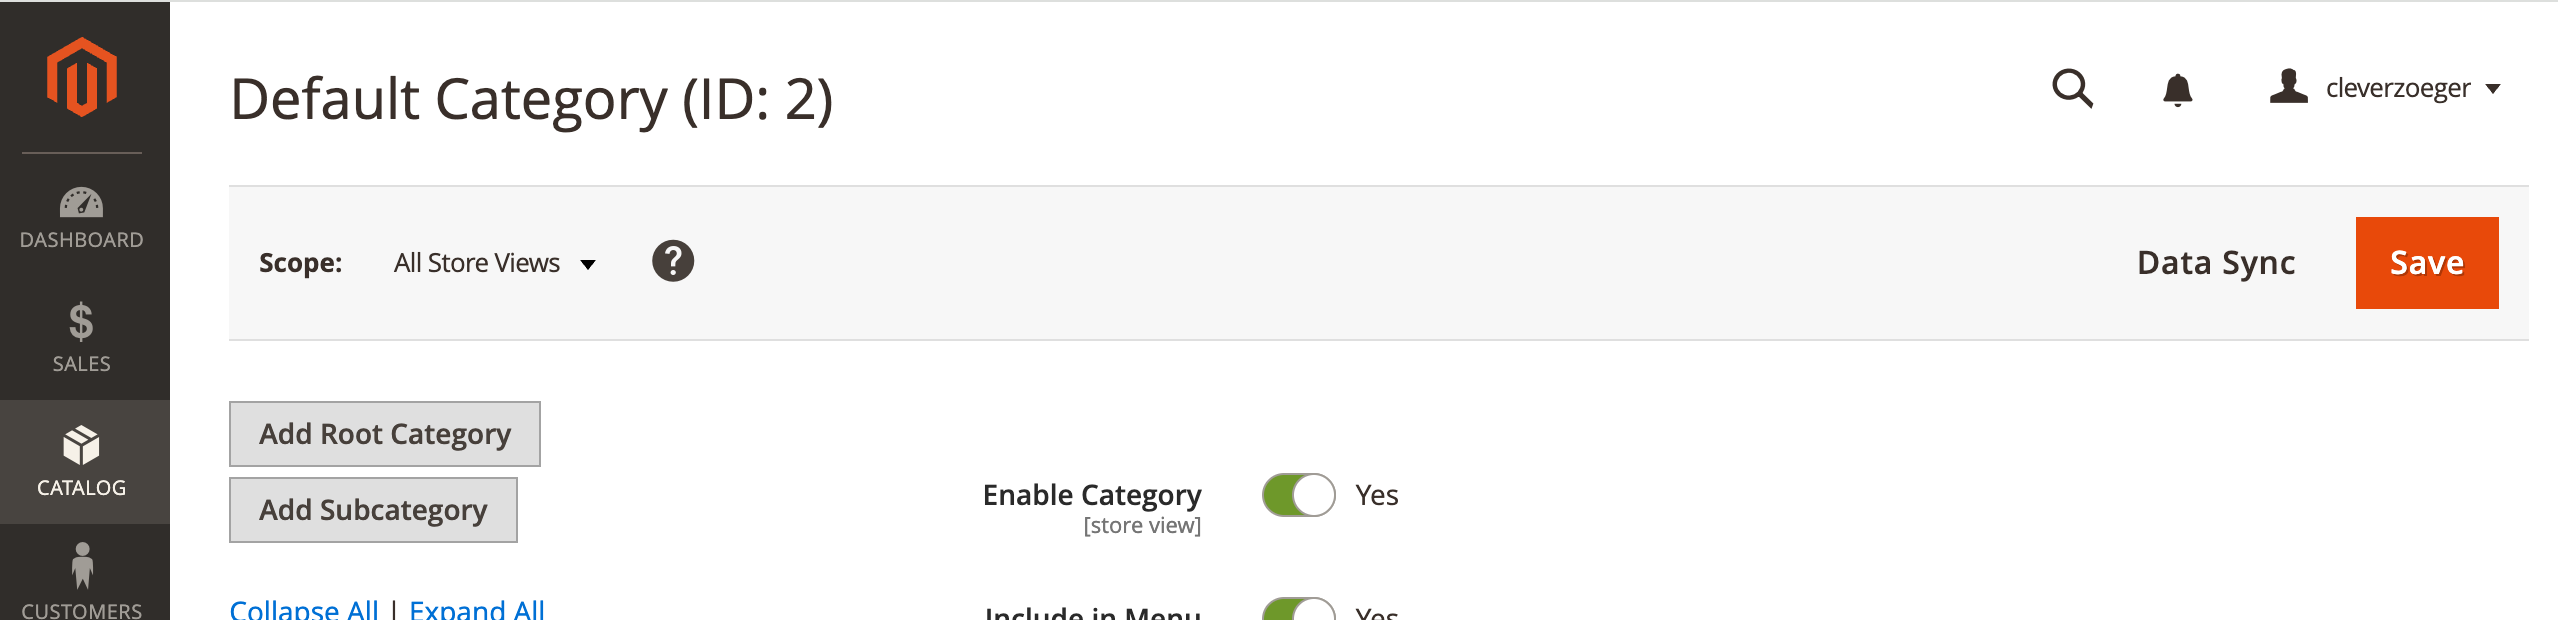
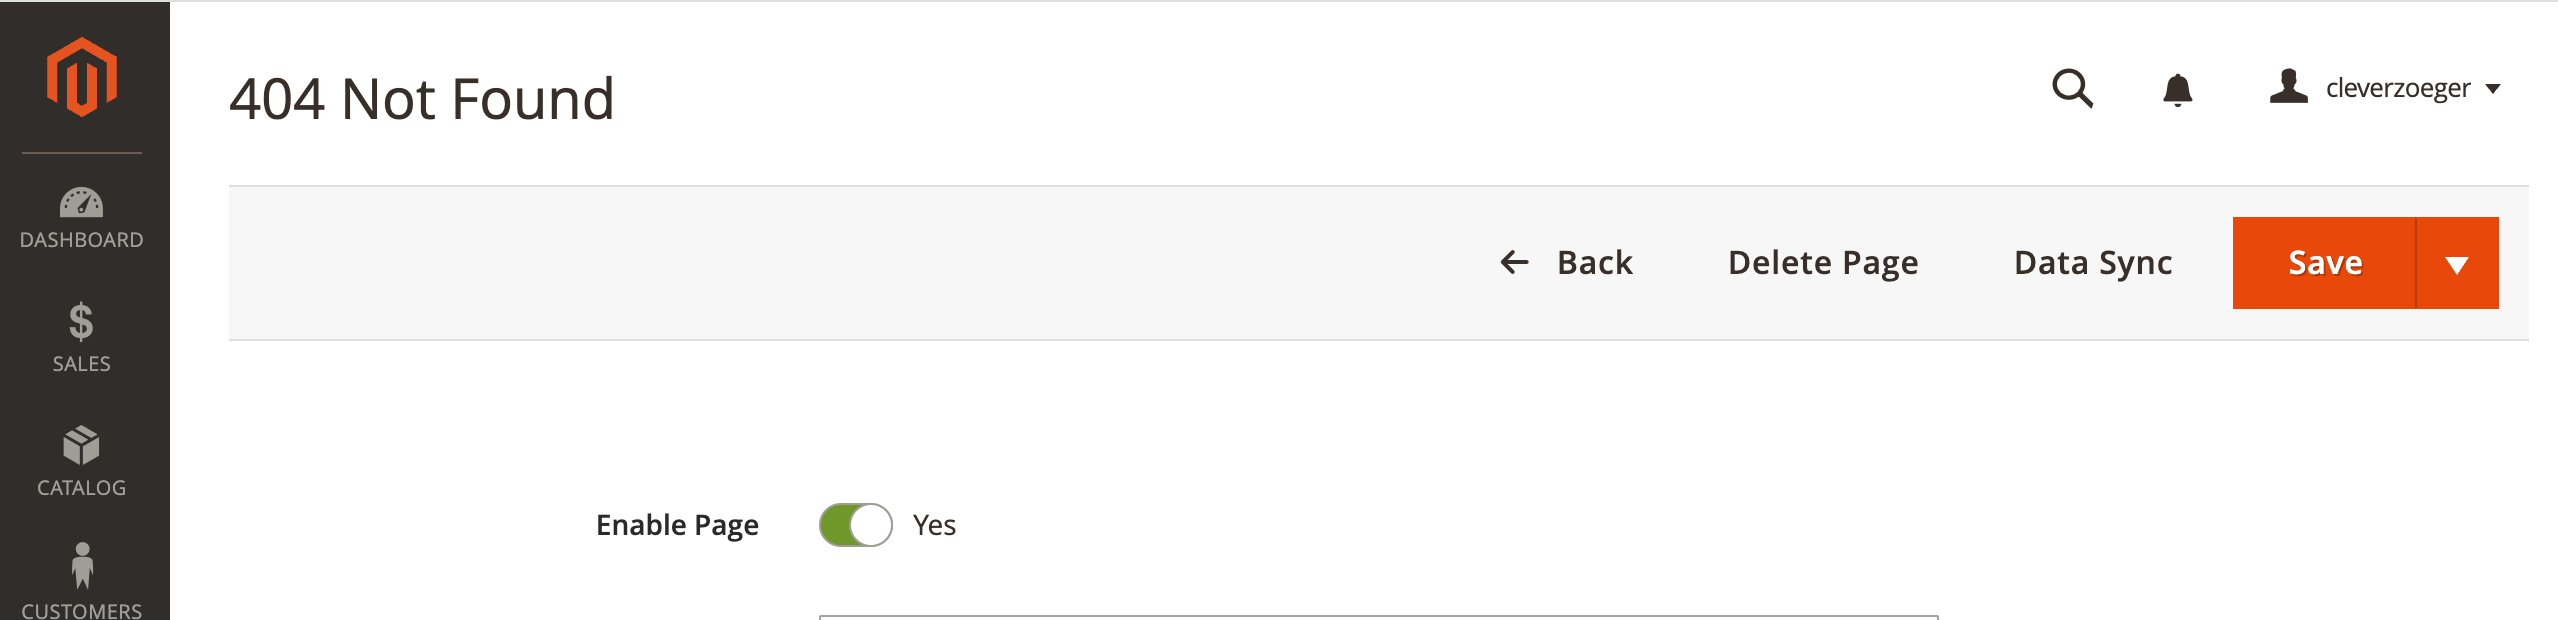
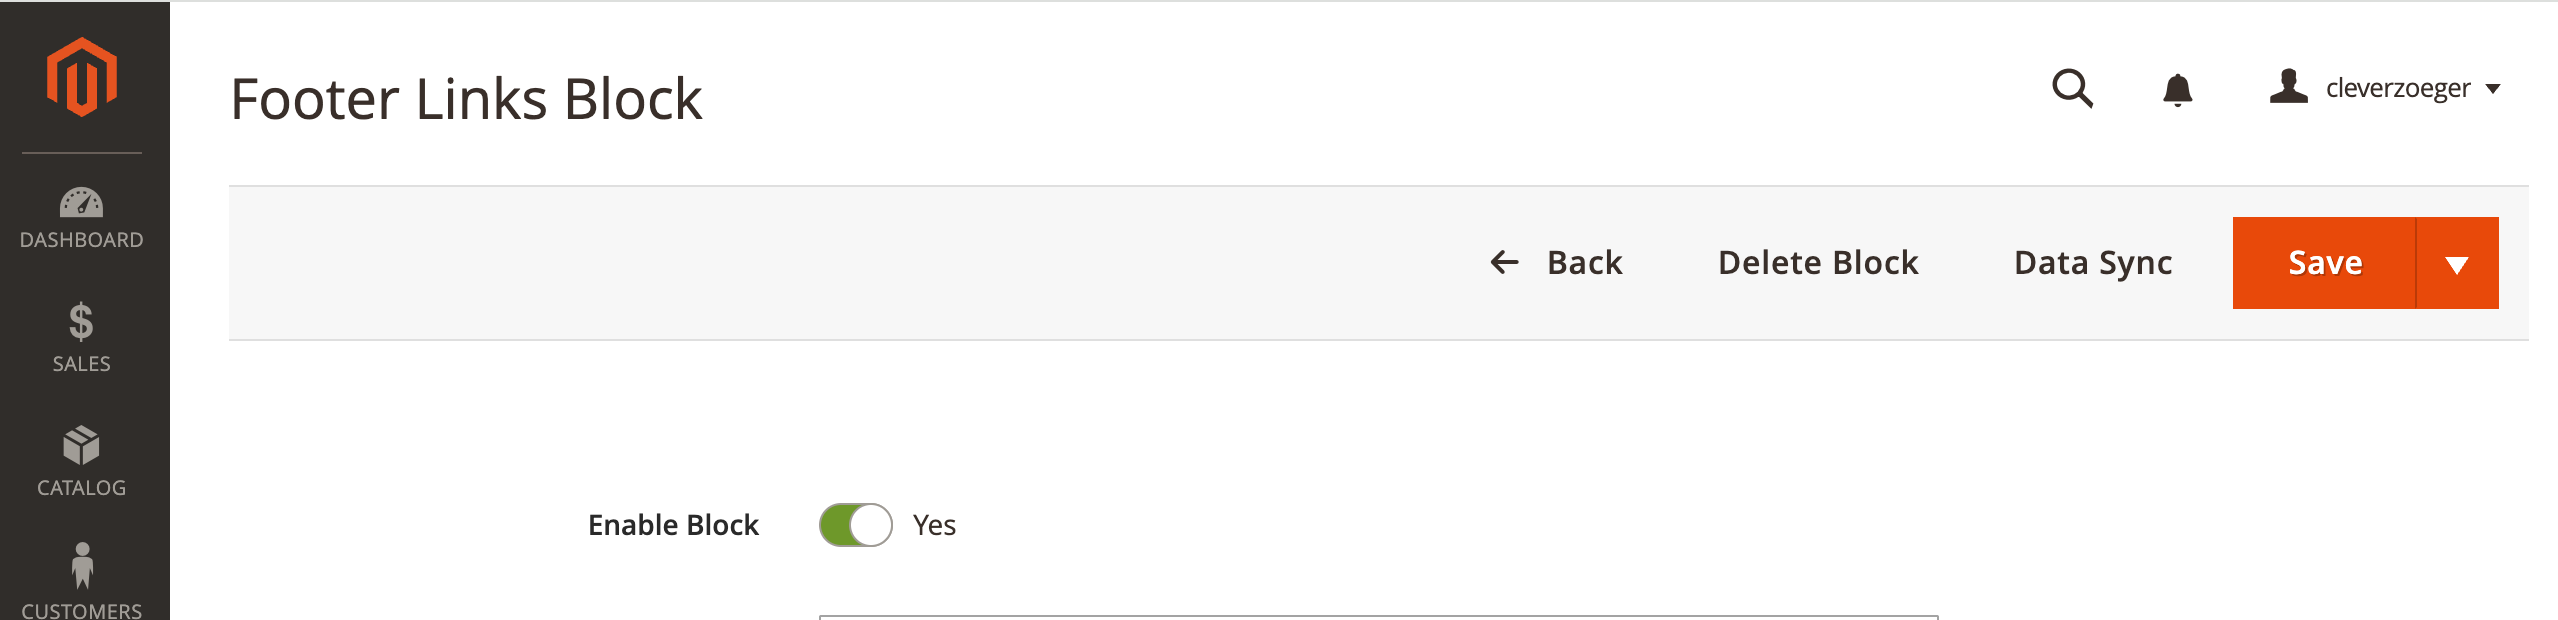
A Data Sync button is available in the toolbar of every supported entity’s edit page. It opens the same modal, lists the active templates for that entity type, and runs the sync.
Running a data synchronization
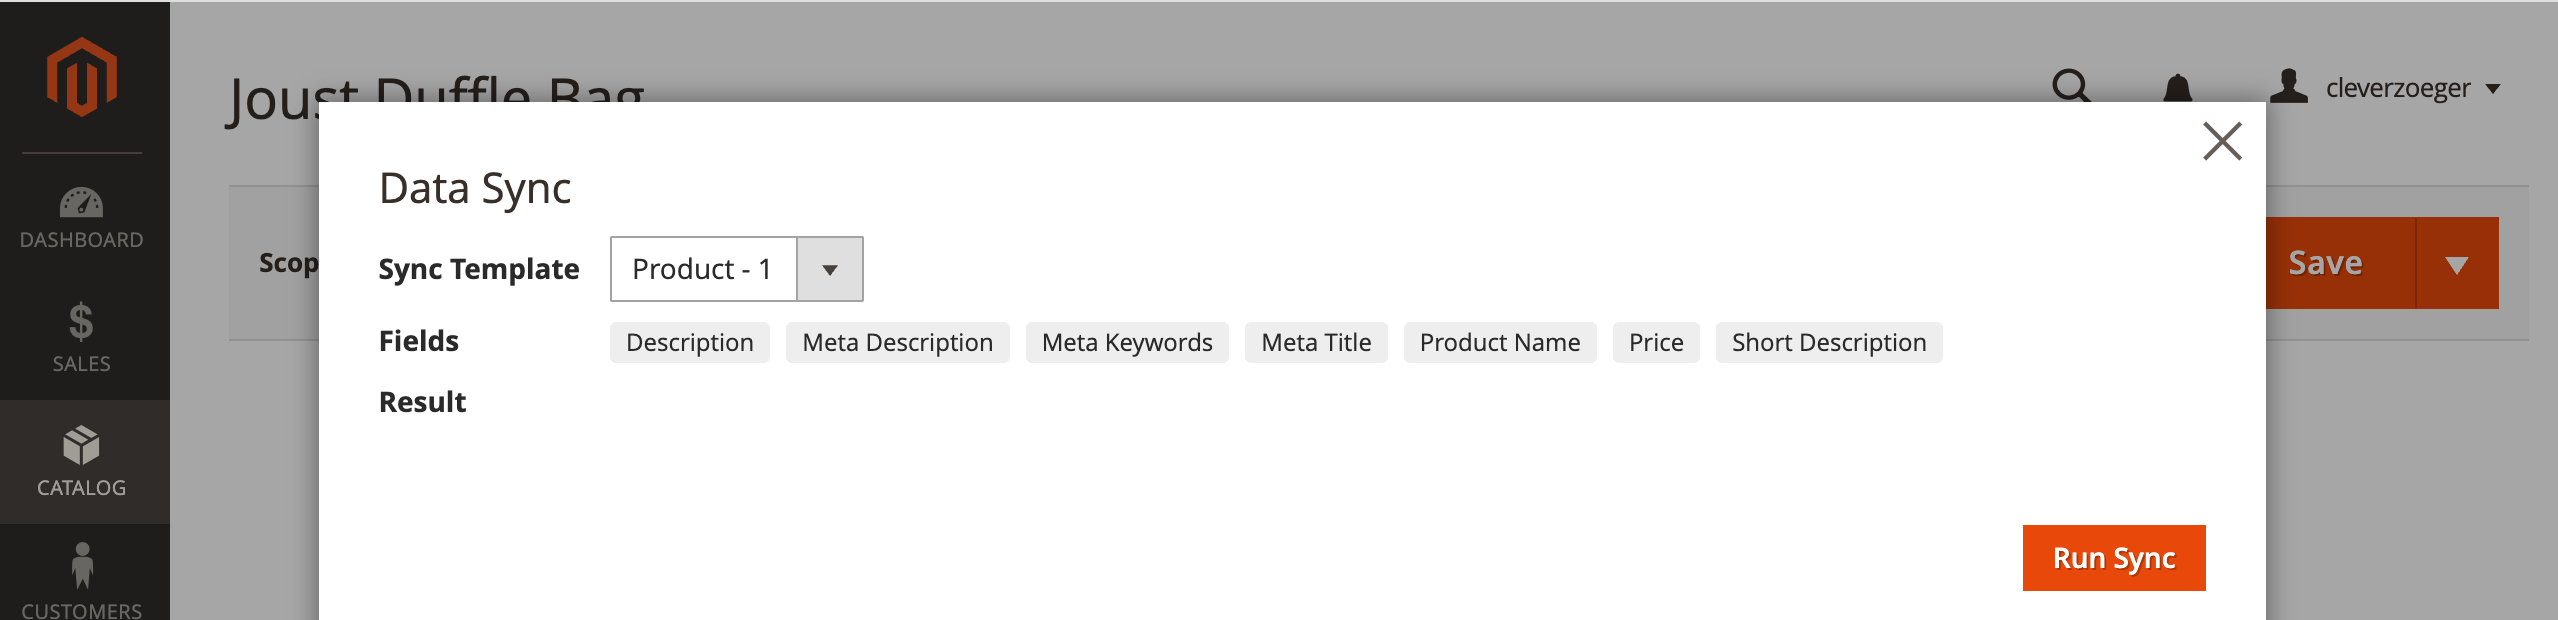
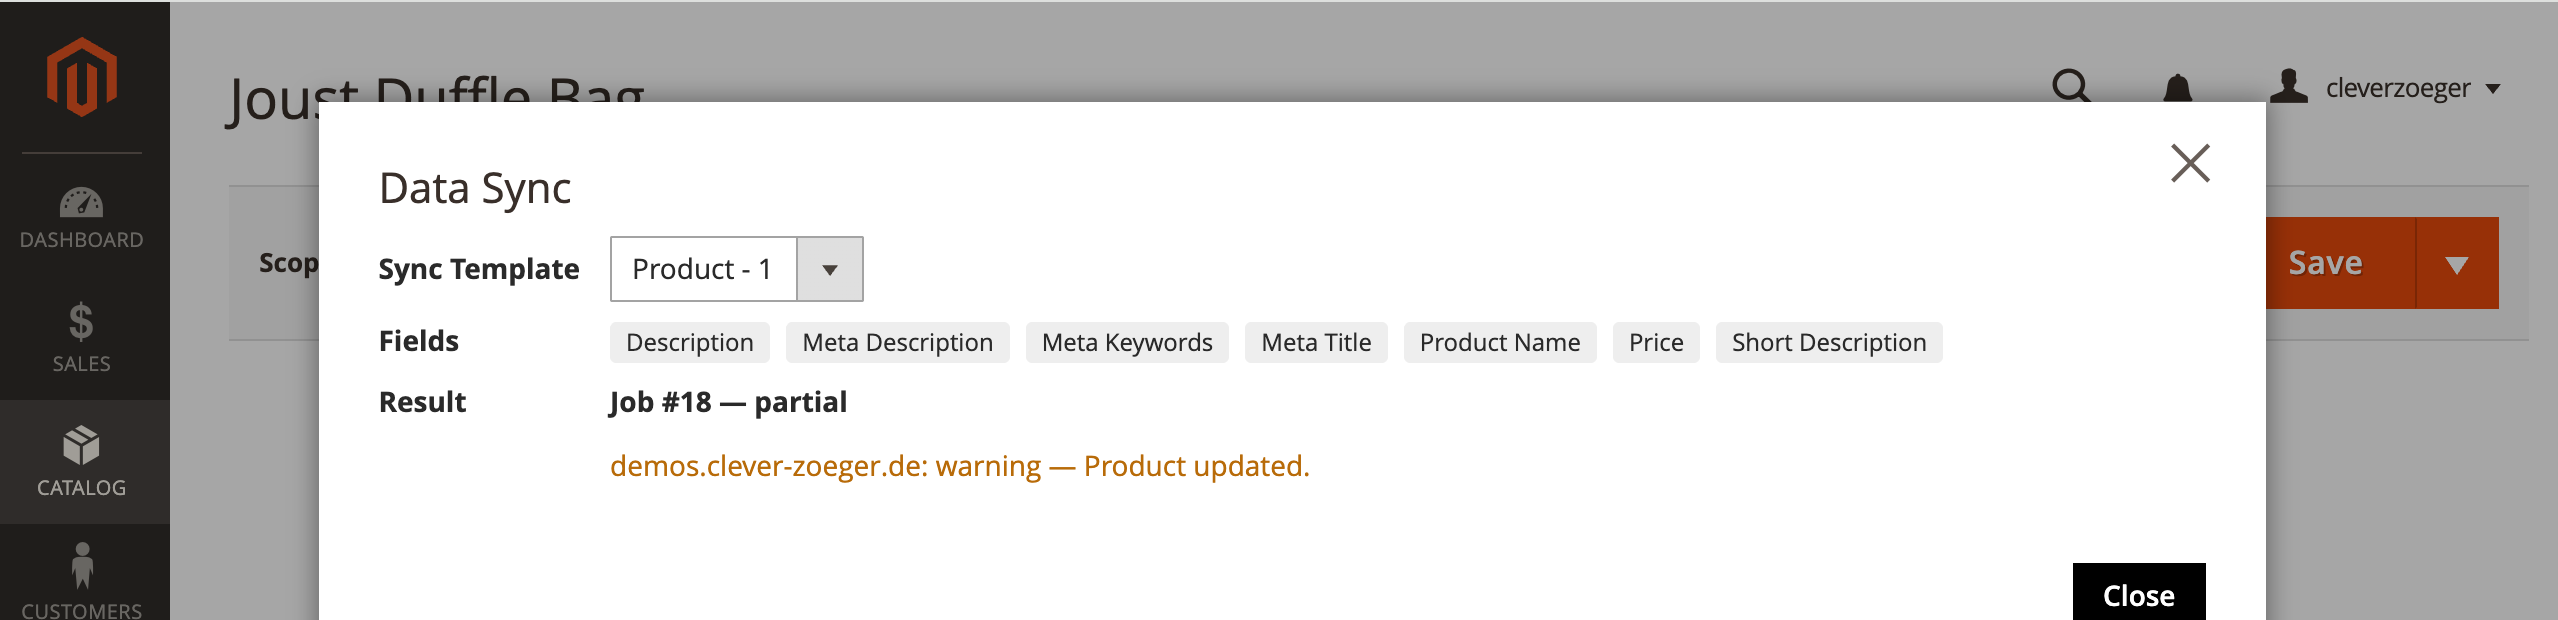
Clicking the Data sync button opens a pop-up window for the actual synchronization.
-
This example shows the product synchronization
-
You can select a different Synchronize Template, if you want.
-
Run Sync starts the synchronization process.
-
After synchronizing you will see a log with depending informations.
-
Close Button closes the popup window
Example: Page Builder page with images
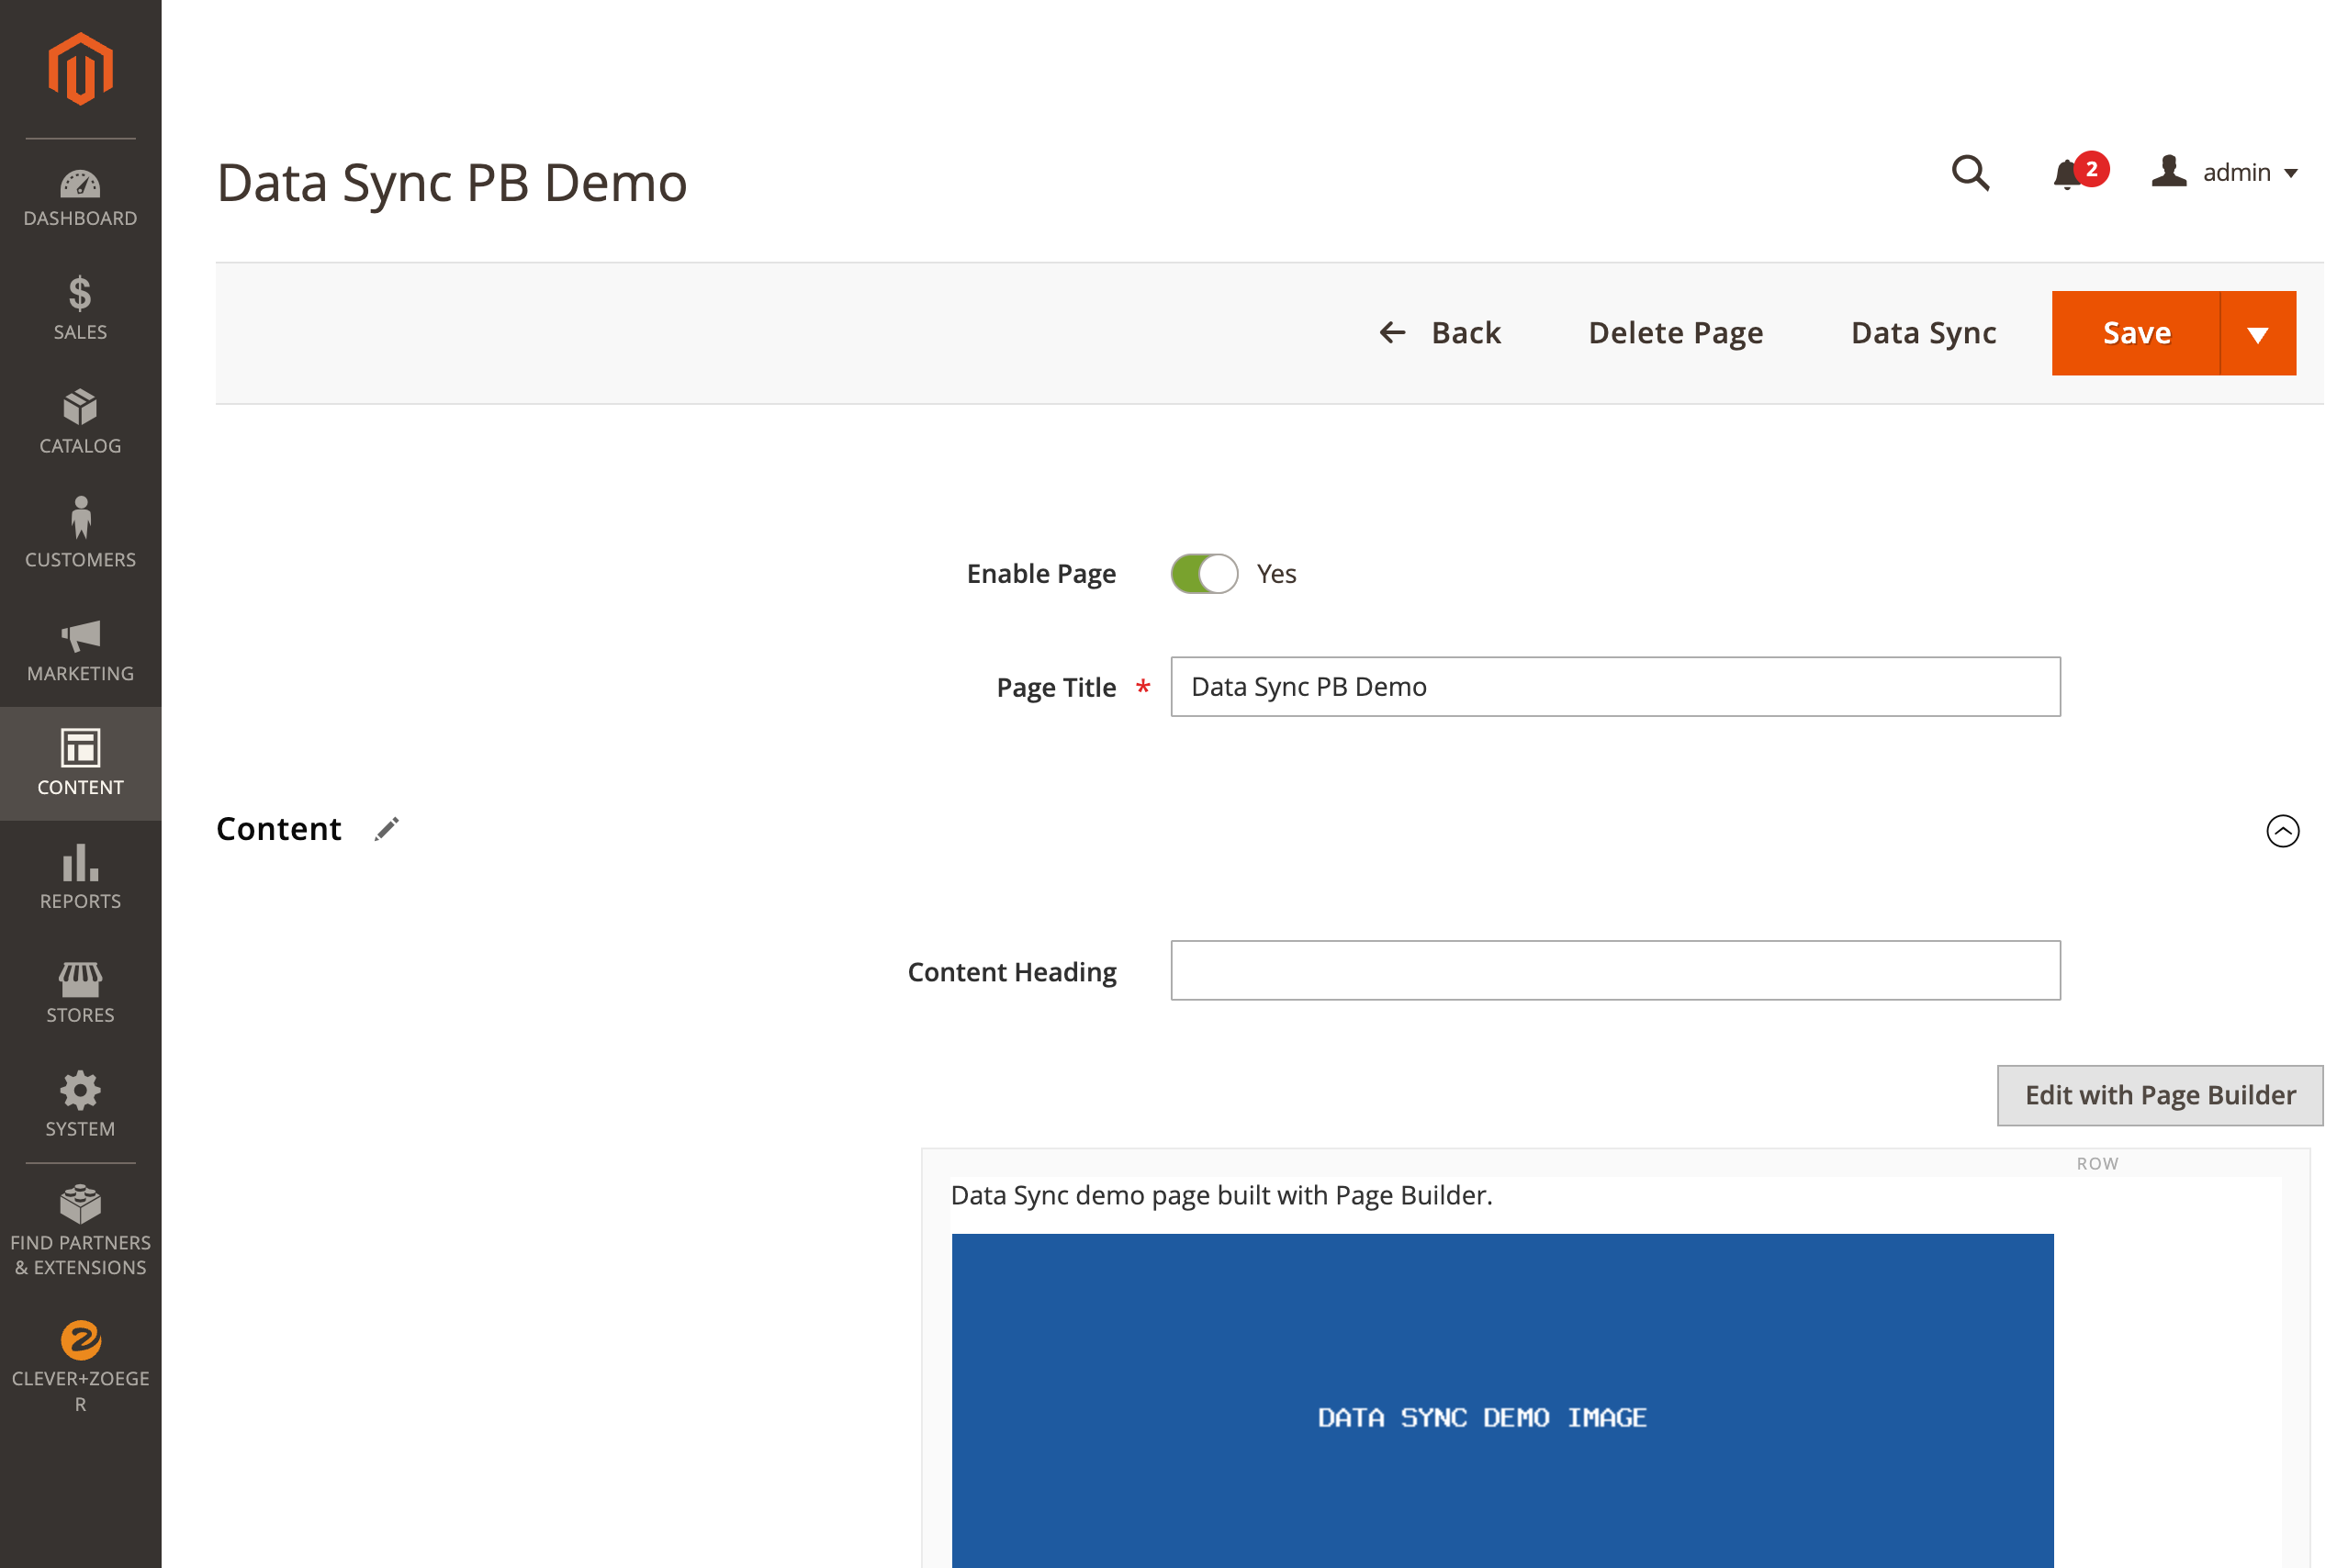
This walkthrough shows, how a Page Builder CMS page — containing an image and a referenced CMS block will be synchronized to a target.
Source System
-
Source page. The page is built with Page Builder and contains an image plus a CMS block widget
-
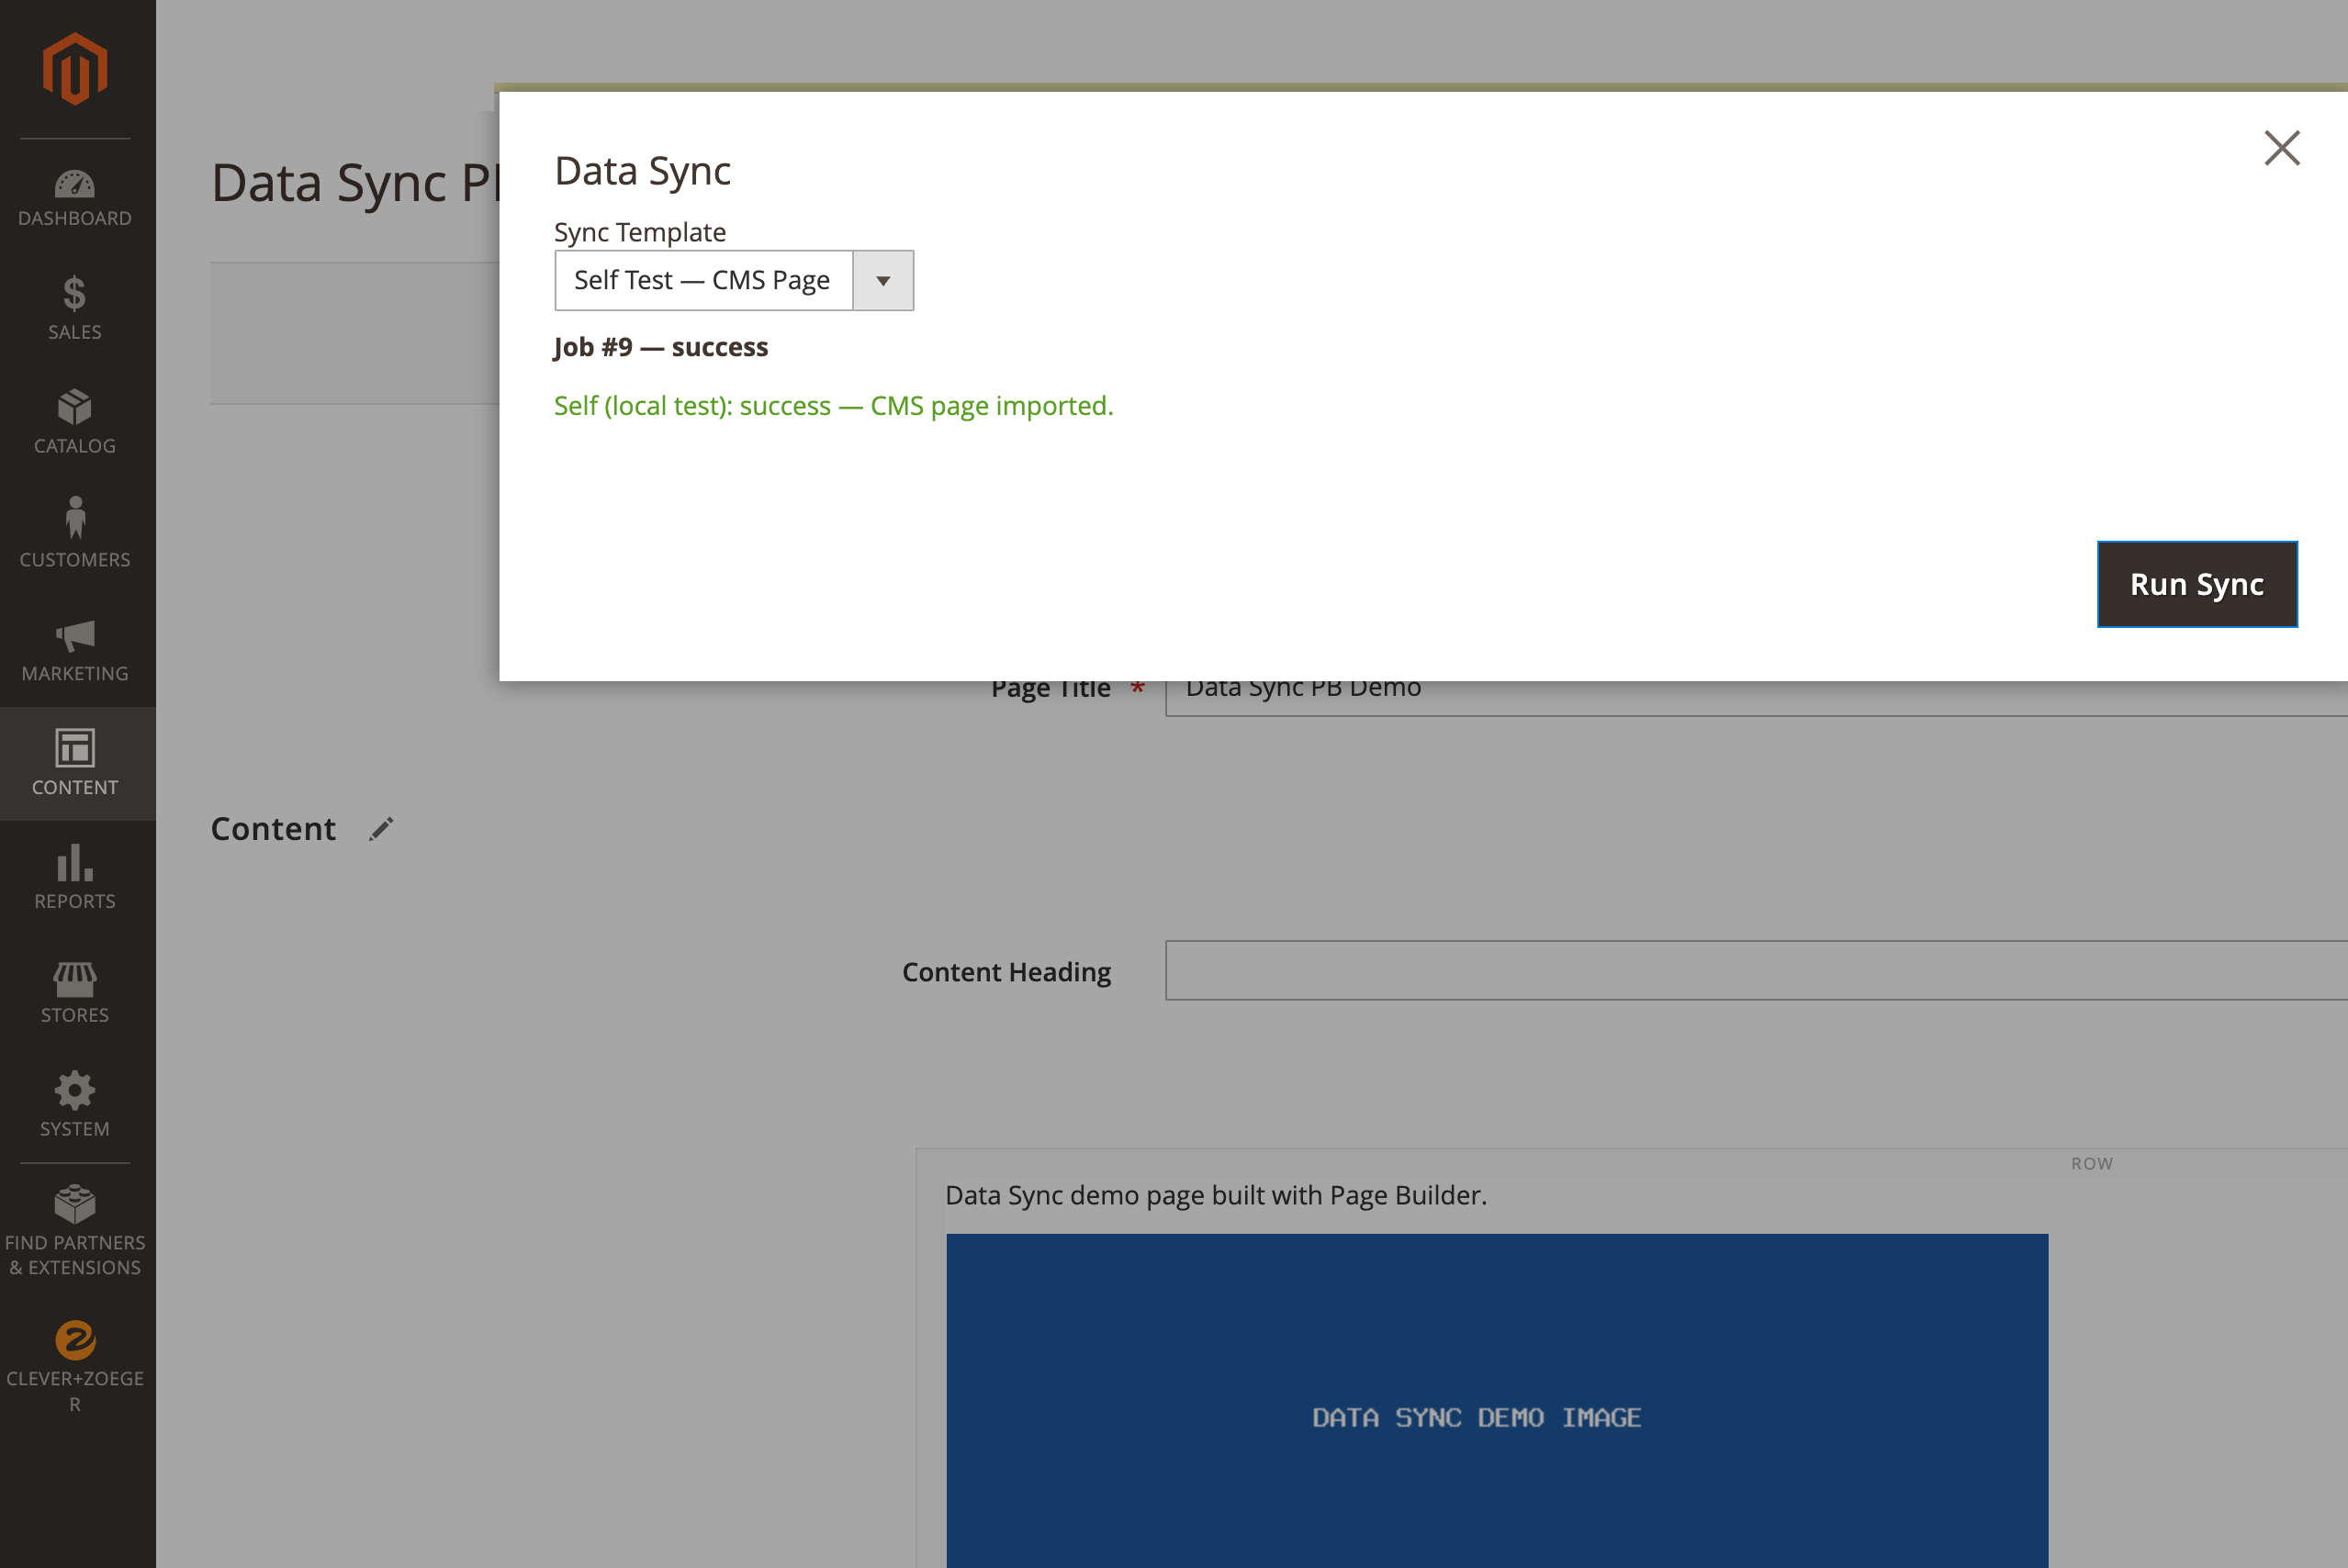
Push Data Sync Button
-
Press Run Sync, to start the synchronization. The job completes with a status message.
What will be synchronized to the targetsystem automatically?
-
Images referenced in the content (
{{media url="…"}}directives and absolute…/media/…<img>sources) are read and embedded as base64 in the payload, then written to the same media path on the target. Absolute URLs are normalized to host-independent{{media url="…"}}directives. -
Referenced CMS blocks (
{{widget … block_id="X"}}) are transferred first (idempotently, by identifier). The numericblock_idin the content is then remapped to the block’s local ID on the target, so the widget keeps working. -
The processed content (with restored media and remapped block IDs) is saved to the target page.
| The media size guard (Media configuration) skips oversized images with a warning. Nested block-in-block references are transferred one level deep in the current version. |
Target System
The sync was verified between two separate Magento installations (source →
target). Starting from an empty target, syncing the Page Builder page created
it there — together with its image and the referenced CMS block — and the widget
block_id was remapped to the target’s local block ID. The page renders on the
target storefront:
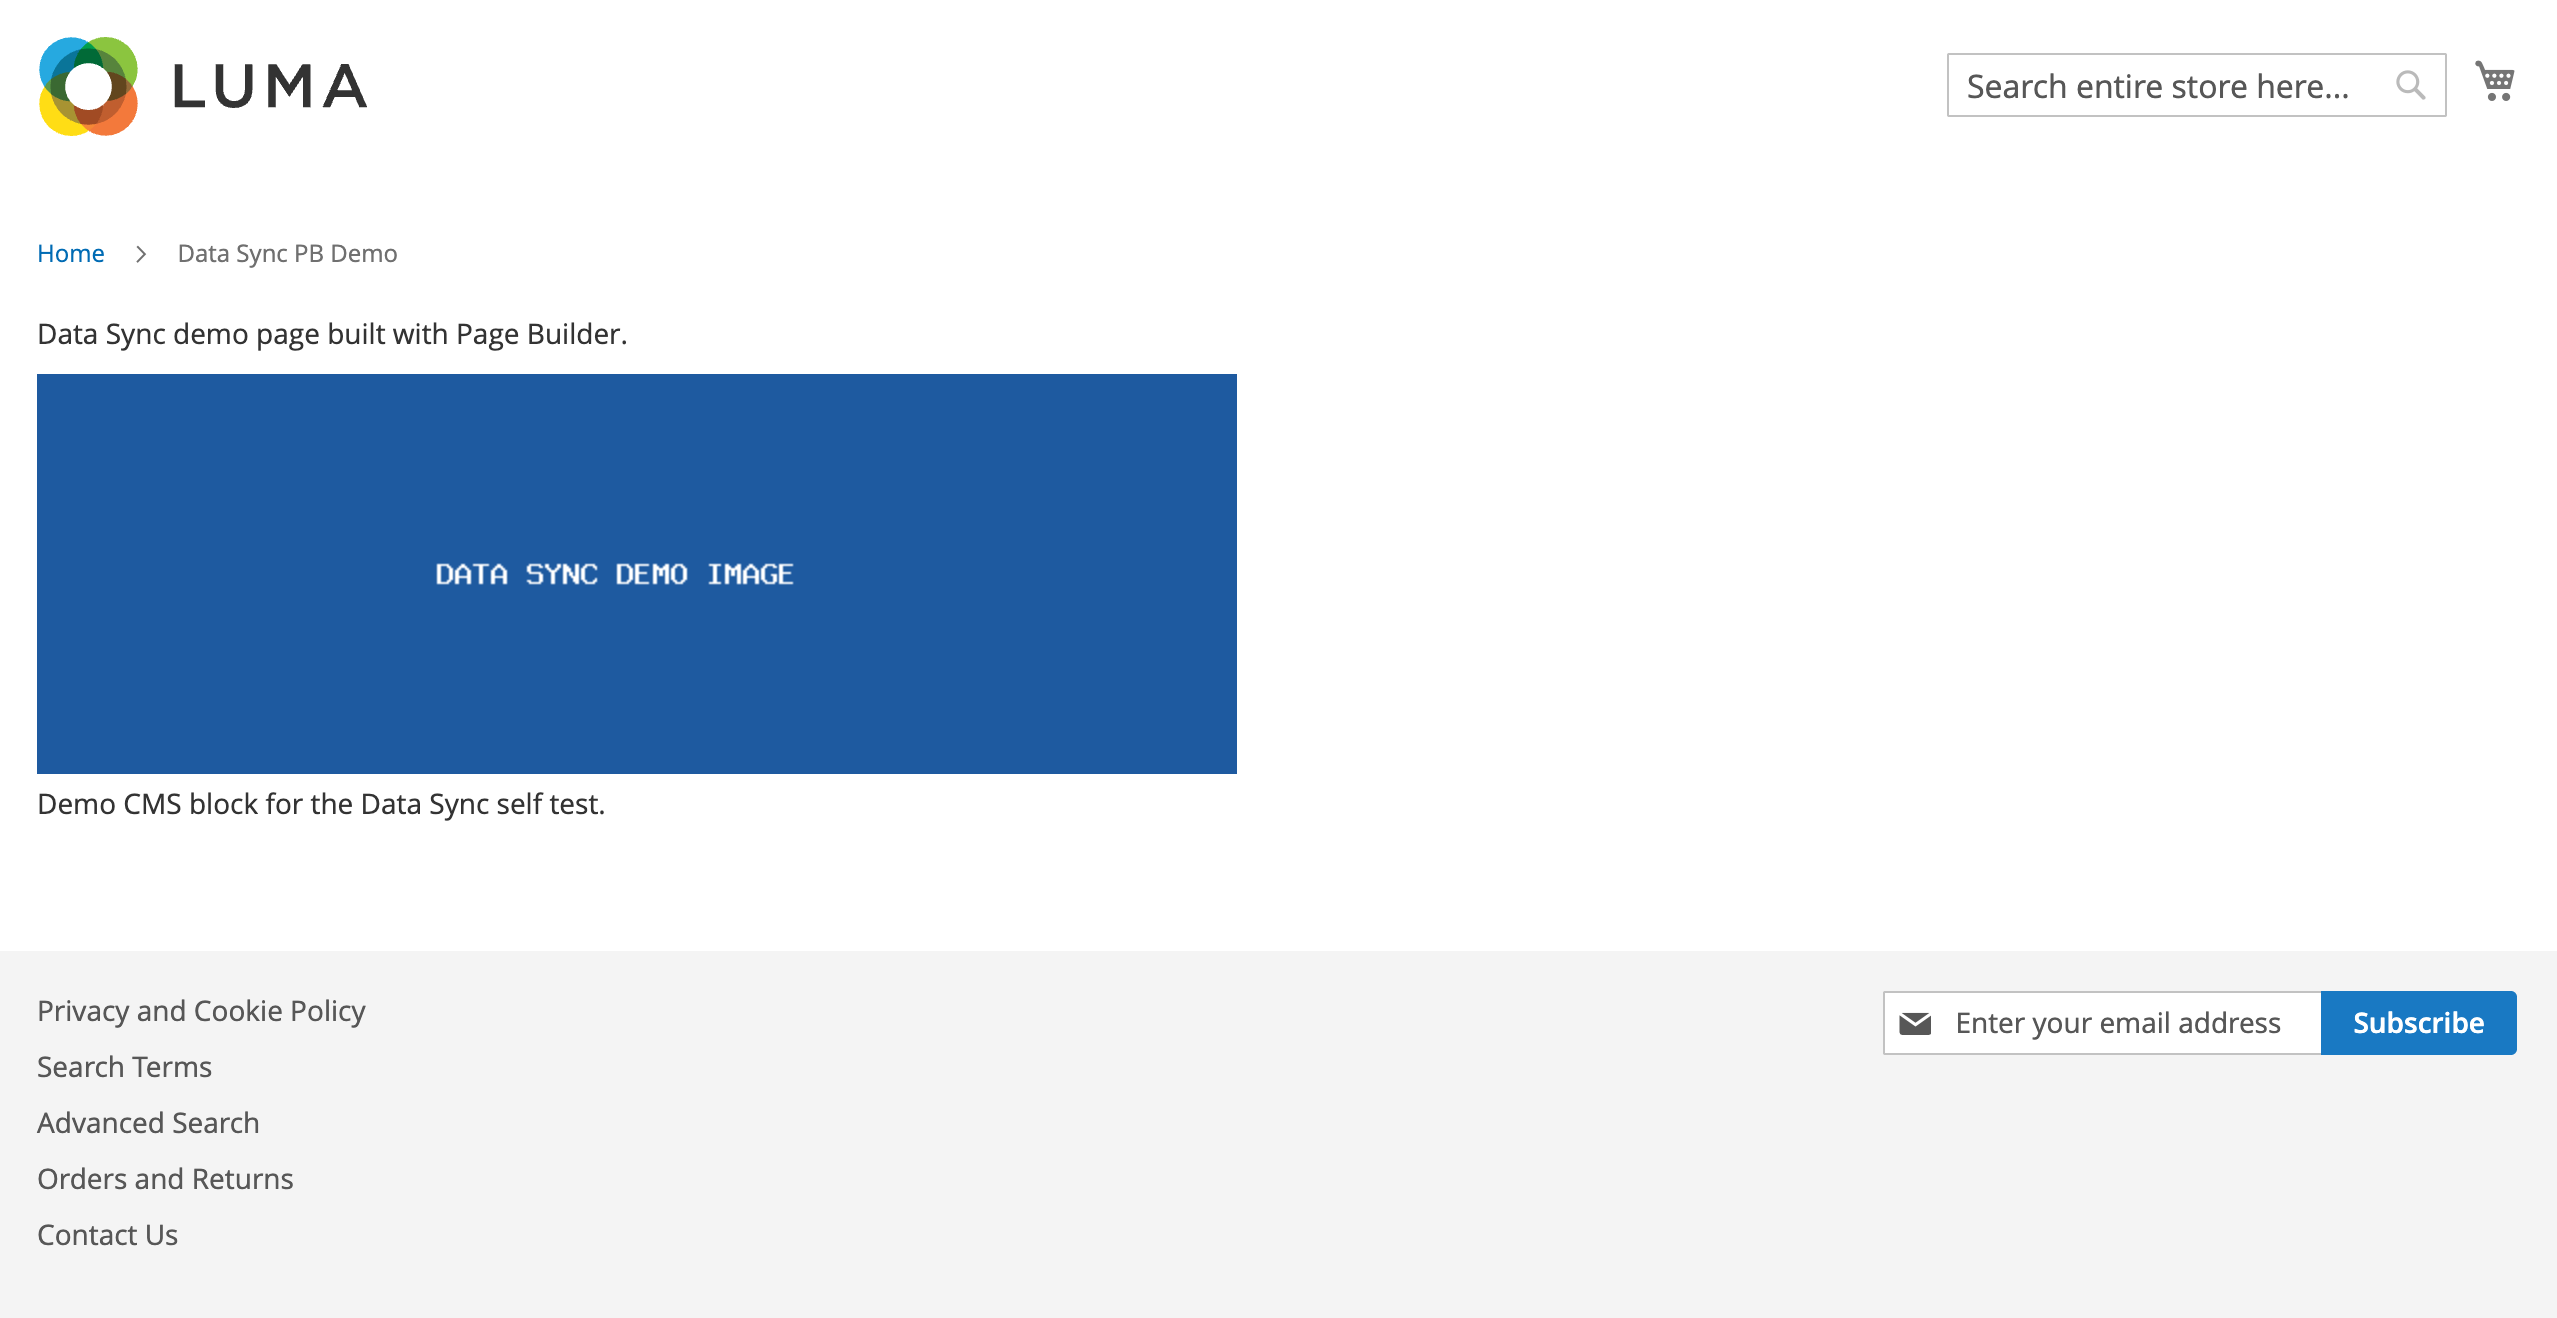
What crossed the wire (source → target): the product (created by SKU), the CMS page, the referenced CMS block (created by identifier), the image (base64 → restored under the same media path), and the identity map entries. IDs that differ between systems (e.g. the block’s numeric ID) are remapped automatically.
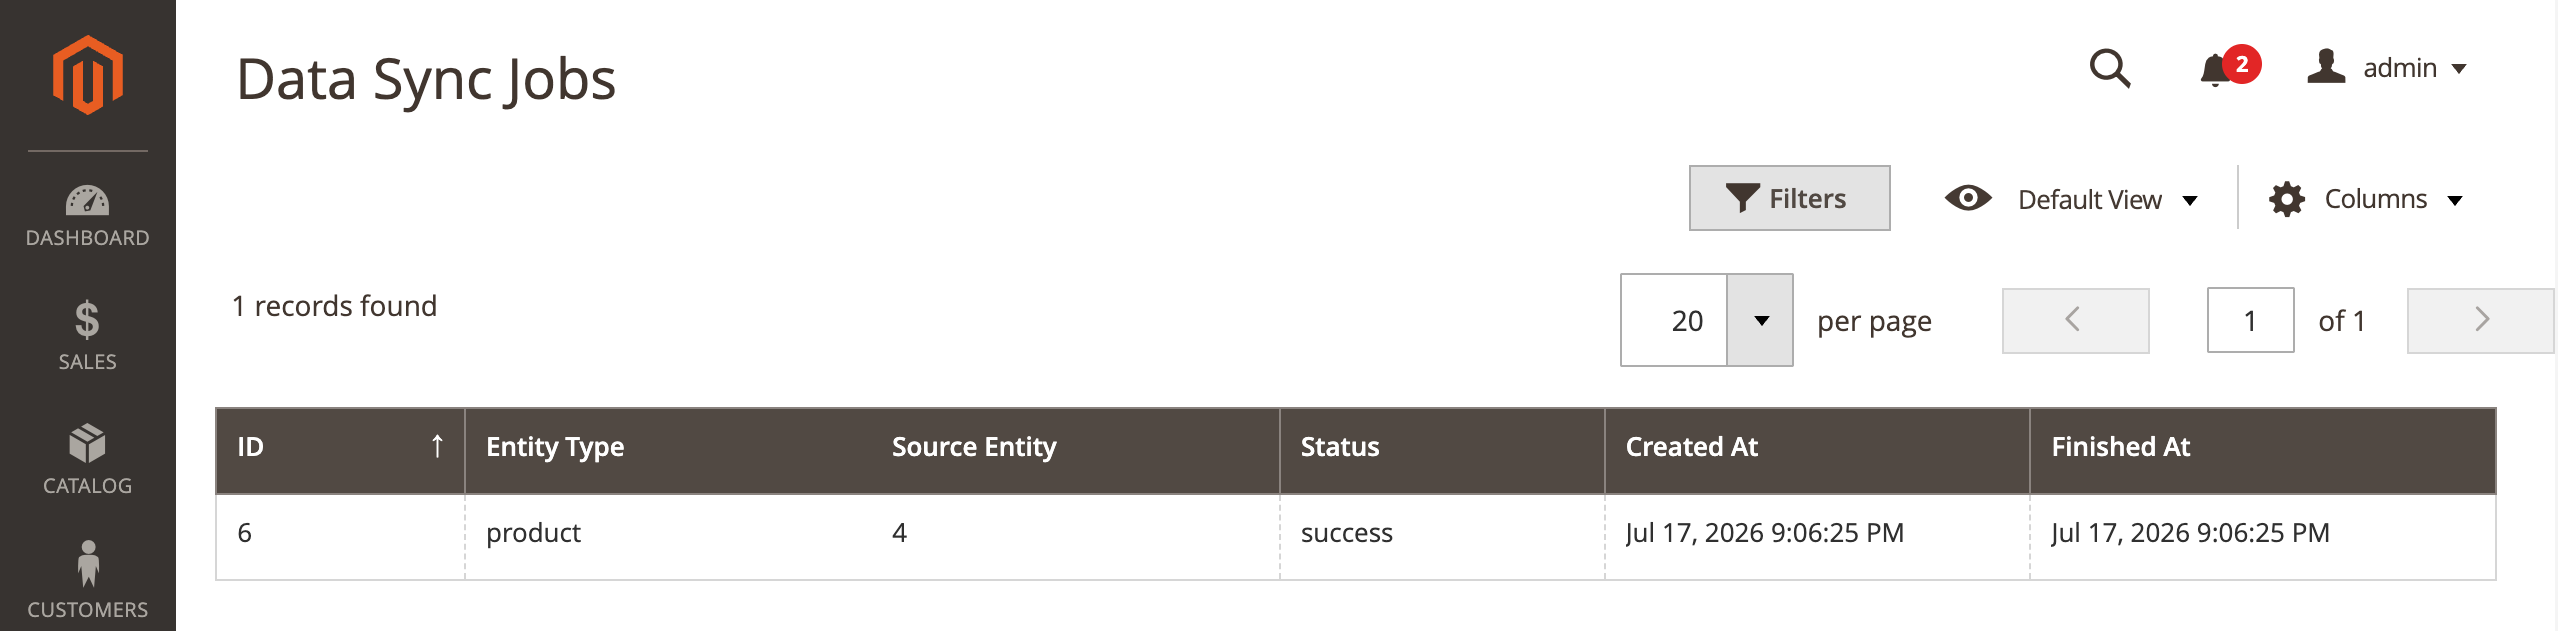
Jobs / Log
Data Sync › Jobs / Log shows every run (read-only): entity type, source entity,
status and timestamps. Details are also written to var/log/cleverzoeger_datasync.log.
WebAPI (receiving side)
The target exposes two ACL-protected REST endpoints (used by the source):
-
GET /rest/V1/cz-datasync/ping– health check (returns status + schema version). -
POST /rest/V1/cz-datasync/import– receive and import an entity payload.
Both require a bearer token and the ACL resource CleverZoeger_DataSync::sync.